
Created by the Kawaii Vibe editorial team. Our named style desks are editorial personas. Product details and availability can change.
Start with the boring stuff, then make it cute. A good exam kit has reliable pens, something to hold them, a way to organise notes, a few tools for breaking up long sessions, and one or two small things that make you want to sit down at your desk. That is the whole formula, and it fits in a pouch and a small pile.
This guide orders a compact kit by priority, so if your budget or bag space runs out, you lose the extras and keep the essentials. Each section covers one piece of the kit, how to choose it, what to swap if money is tight, and what tends to go wrong.
We are a retailer, so a few optional suggestions from our shop appear along the way. Use them only if they fit what you actually need. You can also browse the full Aesthetic Back To School Stationery collection if you would rather start from the shelf.
The Quick Answer: A Kit in Priority Order
Here is the short version. Tier one is what you cannot sit an exam or revise without: writing tools, a case, paper, and a way to mark what matters. Tier two is what makes long sessions easier: sticky tabs, a timer, a water bottle, and a tidy way to carry loose bits. Tier three is the cute finishing layer: stickers, a keepsake, and small comfort items.
Buy or gather in that order. It is tempting to start with stickers because they are the fun part, but a sticker pack does nothing when your only pen is dying. If you can only spend on three things this week, make them pens you trust, a case that closes properly, and a notebook or loose paper system you will actually use.
Before you buy anything, empty your drawers and lay everything on a table. Most people already own a third of what they need, and seeing it together shows the real gaps.
Aim for a kit that fits in one pouch plus one flat folder. If it needs a whole bag of its own, you will leave half of it at home. Compact is the goal, because a kit you carry beats a gorgeous one that stays on a shelf.
- Tier one: pens, pencils, eraser, case, paper
- Tier two: tabs, highlighters, timer, bottle, charger
- Tier three: stickers, keepsake, comfort extras
- Rule: essentials first, cute second, extras last

Pens and Pencils: The Non-Negotiable Core
Writing tools come first because everything else depends on them. Aim for a small, deliberate set: two or three pens in the colour your exam or course expects, one pencil you like holding, a spare of each, and one fine-tip pen for annotating. Check your exam rules before choosing, since some require black ink or clear cases, and the rules differ between schools and boards.
To compare pens, do not rely on the packaging. Scribble on the kind of paper you will really use, and write a full paragraph rather than a squiggle. Notice whether your hand tires, whether ink smudges when you drag your palm across it, and whether it bleeds through thinner pages. Left-handed writers often find that quick-drying inks make a big difference.
Budget swap: a plain multipack of reliable pens costs less than novelty ones and often writes better. Keep the cute pens for notes and planning, and use the dependable ones for exam day. That split protects you from the classic mistake of walking into a paper with a pen that skips.
Pitfall: buying a huge set in twelve colours. You will use three. Pick a main colour, an accent for headings, and one highlighter shade, then stop.
- Two or three main pens plus spares
- One pencil and a decent eraser
- Test on your real paper before committing
- Keep exam-day pens plain and proven

The Case: Choose It for Closing Power, Then Looks
The pouch is the heart of a compact kit, so judge it on function first. Look for a zip that runs smoothly, enough width to lay pens flat, and a shape that stands or sits comfortably on a desk. A case that bulges at the seams will split in a bag within weeks, so pick one slightly larger than your current pile.
If you want something playful, the Cute Toothpaste Pencil Case is listed as vegan leather and measures 29 x 10 cm, which is a long, slim shape. That suits pens, a pencil, a ruler-length item and a few slim extras, but it is narrow, so it is better for a tidy core set than for a stuffed collection of markers. Check that size against your longest pen before ordering.
Budget swap: any zip pouch you already own works, and you can make it yours with a sticker or a small charm. Slim cases fit nicely inside a folder or the front pocket of a bag, while wider ones suit desk use. Decide where the case lives most of the time and choose the shape for that spot.
Placement tip: keep the case in the same bag pocket every day. Half of exam-season stress is hunting for things, and a fixed home removes it.
- Test the zip and seams, not just the print
- Size up slightly from your current pile
- Slim case for bags, wide case for desks
- Decorate a plain pouch if budget is tight

Paper Systems: Notebook, Loose Sheets or Both
Your paper setup decides how fast you can revise. A bound notebook keeps everything in order but is hard to rearrange. Loose sheets in a folder let you shuffle topics and add practice answers, but they scatter if you are careless. Many people do best with a small notebook for daily tasks and loose paper for subject notes.
To choose, think about how you revise. If you rewrite and summarise, you need plenty of pages and a layout that lets you leave margins. If you do practice questions, you need space to work through answers and mark mistakes. Dotted or squared paper suits diagrams and tables, while lined paper suits essay plans.
Budget swap: a plain notebook costs far less than a decorated one, and stickers can dress it afterward. If you want a cute option, browse the Stationery collection and compare page style and size before you fall for a cover.
Pitfall: starting a brand new notebook for every subject and filling none. Pick a system you will keep up for the whole season, and label the front pages so you can find topics in seconds.
- Notebook for order, loose sheets for flexibility
- Match paper style to how you revise
- Label the first page with a contents list
- Limit yourself to what you will actually fill
Marking Tools: Highlighters, Tabs and Colour Rules
Colour is only useful when it means something. Before you buy a pack of highlighters, decide on a rule: one colour for definitions, one for dates or formulas, one for things you got wrong. Three colours are plenty, and a rule you can remember beats a rainbow you can't.
Sticky tabs and flags are the quiet hero of a compact kit. They let you mark pages in a textbook or notebook without writing in it, and they make jumping between topics quick. Pick a slim set that sits in your case or folder, and stick a few on the edge of a page to keep them from curling.
Budget swap: skip highlighters and use a single coloured pen for underlining. It is cheaper, neater, and avoids the problem of highlighting entire pages until nothing stands out. If you do buy highlighters, choose pastel shades that don't bleed through, and test on both sides of your paper.
Pitfall: marking everything. If half the page is yellow, nothing is important. Aim to highlight a small fraction of the text, then write a short summary in the margin.
- Pick a three-colour rule and stick with it
- Slim tabs beat bulky flag sets
- Test highlighters for bleed-through
- Highlight less, summarise more
Stickers: The Cute Layer That Also Works
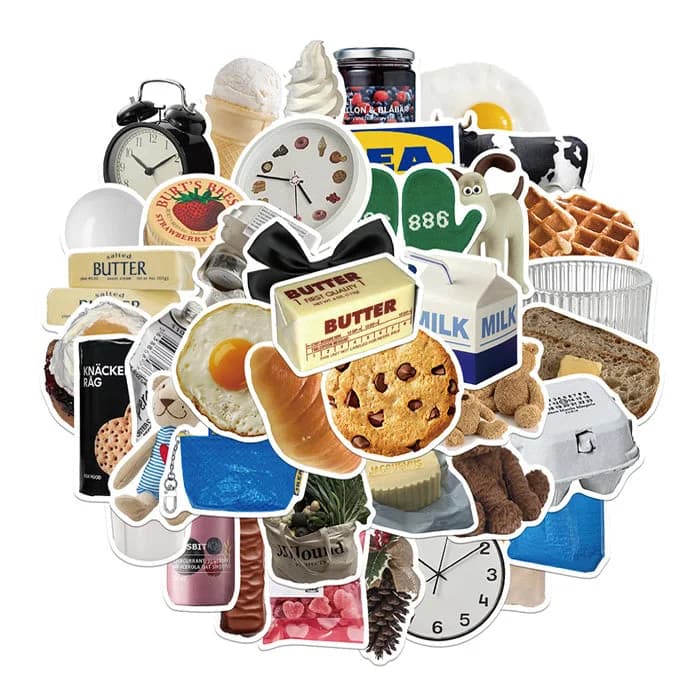
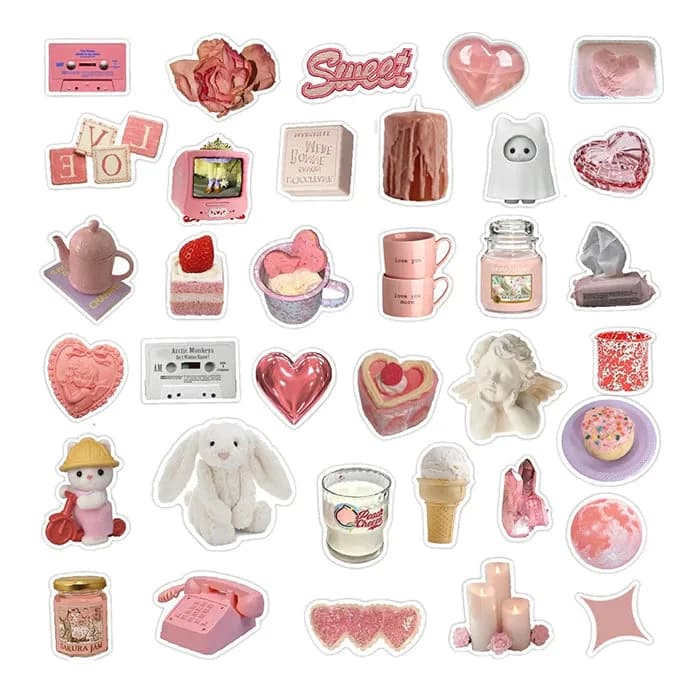
Stickers are the easiest way to make a kit feel yours, and they can do real jobs too. Use small ones as page markers, larger ones to label subjects, and a few as rewards on a study tracker. They turn a plain notebook into something you want to open.
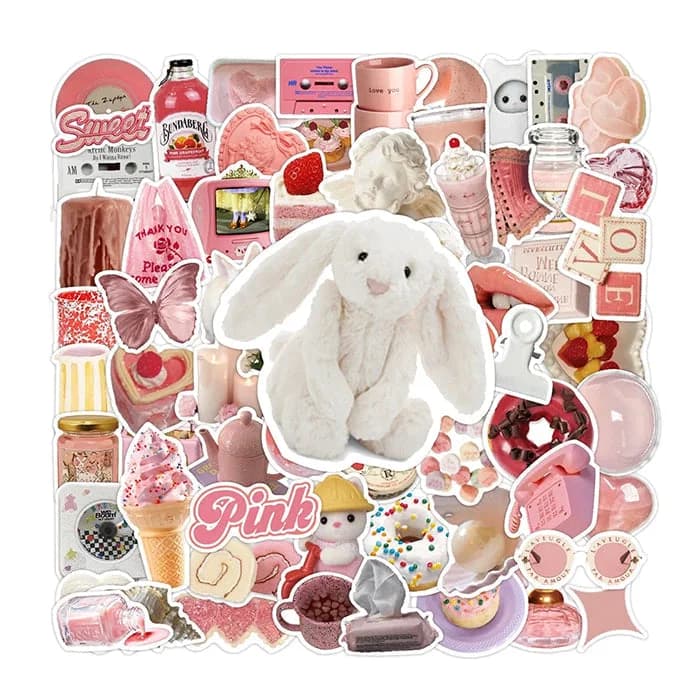
If you like a gentle pastel look, the Soft Girl Aesthetic Sticker Pack comes in 10, 30 or 70 piece sizes. The Aesthetic Sticker Set comes in 10, 30 or 50 pieces. For a compact kit, the smallest count is usually enough, since stickers only help if you use them sparingly and on purpose.
Budget swap: buy the lowest count and share a larger pack with a friend, or keep a few for planner pages and use plain tabs for the rest. Placement tip: put stickers on the cover, the first page of each subject, and the corner of weekly pages. Leave note pages clean so your writing stays readable.
Pitfall: covering a page you need to scan quickly. Stickers should guide your eye, not compete with your notes.
- Use as labels, markers and rewards
- Choose the smallest pack that covers your needs
- Keep note pages clear
- Share larger packs to save money

Timer and Break Tools: Keep Sessions Short
Long, unbroken study blocks tend to wear people out, so a timer earns a place in your kit. A simple kitchen timer, a phone timer, or a basic clock all work. The point is to set a start and an end, so a session feels like a defined task and not an endless slog.
Many people like short focused blocks followed by a short rest, and you can adjust the length to suit you. Try twenty-five minutes, thirty or forty-five, and see which leaves you able to keep going. Write the block length on a sticky tab and put it on your desk as a reminder.
Budget swap: your phone timer costs nothing, but it comes with distractions. If you can, put the phone in flight mode and use a separate timer, or turn on a focus setting. If you use a phone, keep it face down and only touch the timer app.
Pitfall: skipping breaks. Stand up, drink some water, look out a window. Treat the break as part of the plan so it doesn't turn into scrolling for half an hour.
- Choose a block length and stay consistent
- Use a separate timer if your phone distracts you
- Plan the break before you start
- Stand, stretch, sip water

Desk Comfort: Water, Snacks and Small Care Items
A compact kit isn't only stationery. Add a few things that keep you comfortable so you don't get up every ten minutes: a refillable water bottle, a simple snack that won't make a mess, tissues, lip balm and a hair tie. These are small, but their absence is what interrupts sessions.
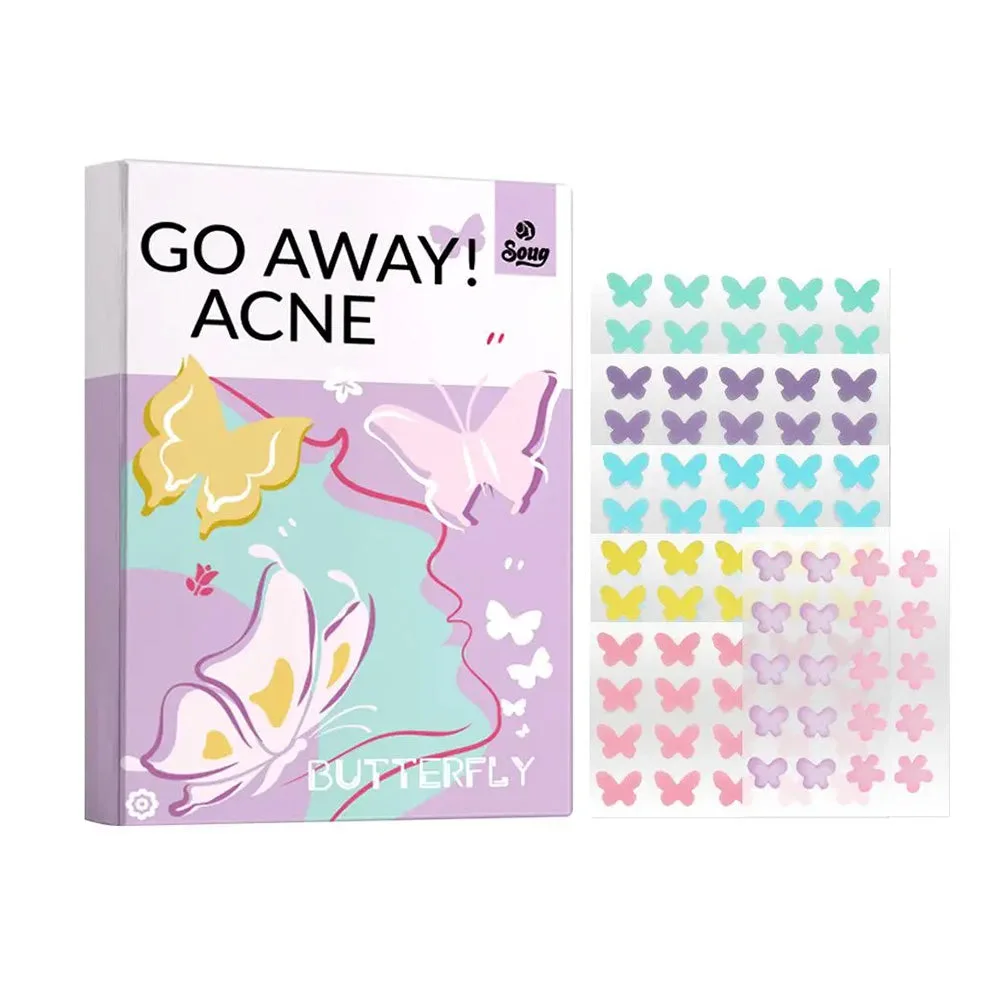
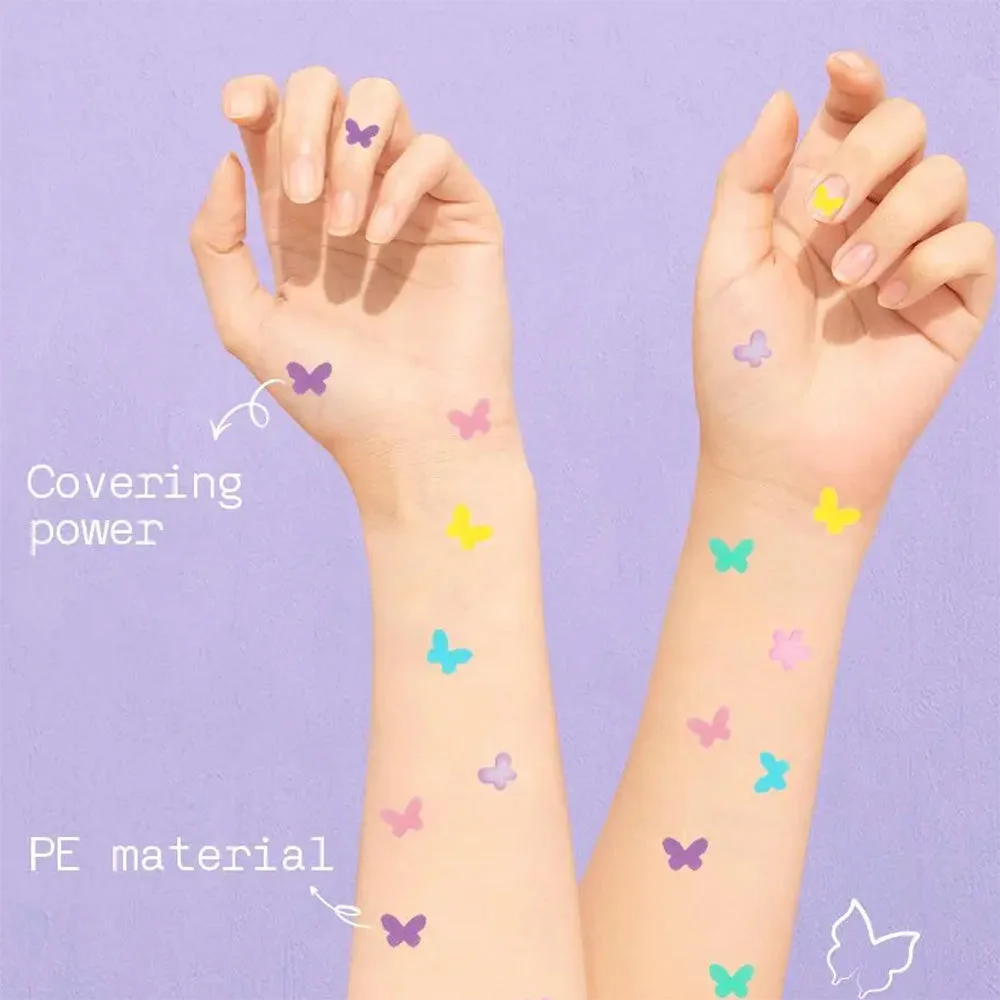
If you carry skin items, keep it modest. The Cute Butterfly Pimple Patches – 120-Piece pack is listed as 120 pieces and could live in a small pouch for stressful weeks, but treat it as a personal-care extra and follow the instructions on the pack. It is optional and not part of the study essentials.
Budget swap: use a bottle you already own and a snack from your normal groceries. Choose snacks that are quiet and tidy if you study in a library, and avoid anything sticky near notes. A small zip bag keeps wrappers from spreading through your bag.
Placement tip: keep comfort items in a separate small pouch from your pens. That way the stationery case stays slim and you can leave the extras at home on lighter days.
- Refillable bottle first
- Quiet, tidy snacks
- One small comfort pouch, separate from pens
- Optional extras only if you will use them
Tech and Power: The Boring Bits That Save You
Exam season goes wrong fastest when a device dies. Pack a charging cable, a spare if you can, and consider a small power bank if you study away from home. Add earphones or earplugs if noise bothers you, and check what your exam venue allows, since many ban devices entirely.
Keep cables tidy with a small pouch or a simple elastic band so they don't tangle with pens. Label your charger if you study in shared spaces, because identical white cables get swapped constantly. A sticker on the plug end does the job.
Budget swap: borrow a spare cable from a drawer at home and keep it in your bag permanently. You don't need a fancy organiser when a zip bag will do. If you use a laptop, note the battery level before leaving, and plan a spot near a socket.
Pitfall: relying on phone notes with no backup. Save revision files in two places, and print or photograph the key pages. A flat folder with printed summaries is a calm fallback if tech fails.
- Spare cable lives in your bag
- Power bank only if you study away from home
- Label chargers in shared spaces
- Back up notes in two places
Keepsakes and Mood Items: One Small Joy
A single small keepsake can make a desk feel kind. Think of a charm on your case zip, a photo tucked into a folder, or a tiny object that sits beside your notes. It should be small enough that it never gets in the way, and meaningful enough that it makes you smile.
A photo album can be a sweet way to store printed pictures, ticket stubs or notes from friends, so you can flip through them on a break. The Kawaii Aesthetic Photo Album comes in Cow, Pink Pudding, Pink Hearts, Green Ice Cream and Purple Checkerboard. The Sweet Memories Photo Album comes in Blue, Green, Yellow, Black, White and Pink. These are keepsake items, not study tools, so treat them as a calm shelf piece for after exams.
Other options include the Cuteness Overload Photo Album in Pink and the Sweet Dreams Photo Album in Blue. Check the product pages for page counts and details, since they aren't listed here.
Budget swap: a clip frame, a card on the wall, or a photo on your phone lock screen does the same job for free.
Packing and Placement: Where Everything Lives
A compact kit works because every item has a home. Use three zones: the case for pens and small tools, a folder for paper and printed notes, and a small pouch for comfort and tech. Put the case in the front pocket, the folder against your back panel so it stays flat, and the comfort pouch at the bottom.
At your desk, arrange for your dominant hand. Pens and the timer go on that side, notes in front, and water on the opposite side so spills don't hit paper. Keep only what you need for the current session on the surface, and put the rest back in the case.
Budget swap: use a shoebox or a tray at home as a base station, and carry only a lighter version when you leave. Do a two-minute reset at the end of each session, returning items to their zones. It makes the next start easy.
Pitfall: overpacking for a day out. Pack for the session you plan, not every possible session. If you are heading to a library for three hours, you need far less than a full home desk.
- Case, folder, comfort pouch
- Dominant-hand side for tools
- Water away from paper
- Two-minute reset after each session
Budget Tiers and Smart Swaps
You can build this kit at three levels. The lean version is pens, a pencil, a plain case, loose paper, tabs and a free timer. The middle version adds a nicer notebook, a few stickers and a water bottle you like. The treat version adds keepsake items and a themed case.
Compare options by cost per use. A pen you use daily for the whole season is better value than a novelty item you touch twice. For anything decorative, ask whether you would still want it if nobody saw it. If the answer is yes, buy it. If not, skip.
Browse the Aesthetic Stationery collection and the Back To School collection to compare styles, then set a spending limit before you add to your cart. Write it down so you don't drift.
Pitfall: buying duplicates. Check your drawers first, and swap new purchases for items you've worn out, not for items that merely bore you.
- Lean: basics only
- Middle: add notebook, stickers, bottle
- Treat: keepsakes and themed pieces
- Set a limit before browsing
Common Mistakes and How to Avoid Them
The first mistake is decorating before functioning. A gorgeous kit with pens that smudge will frustrate you quickly. Test the basics, then add charm. The second is overbuying, which leaves you with a heavy bag and a pile of unused items.
The third is ignoring exam rules. Some venues require clear cases, plain pens, or no devices, so check the instructions well before the day. Keep a separate exam-day pouch with only approved items, so you aren't reorganising at the last minute.
The fourth is treating the kit as a substitute for studying. A neat desk feels productive, but the work is what counts. Set a rule that you spend no more than ten minutes tidying before a session starts.
Finally, don't forget to refill. Replace dried pens, restock tabs, and clear old papers every week or two so the kit stays light and ready.
Final Checklist and Next Steps
Here is the whole kit in one place, ordered by priority. Work from the top and stop when your budget or bag is full. Everything above the line is essential, and everything below is a bonus.
Once your basics are ready, spend a little time on the cute layer. Pick one or two items that make your desk feel inviting, and leave the rest. A small, well-chosen kit looks better than a crowded one, and it is easier to keep tidy.
If you are still choosing, start with the Stationery shelf, then add small touches from the stickers and case options mentioned above. Take your time, compare sizes and details on each product page, and buy only what you will use.
Then close the tab, pack your bag the night before, and give yourself a calm start.
- Pens, pencil, eraser, spares
- Case that closes well
- Notebook or loose paper plus folder
- Tabs and a simple colour rule
- Timer, water bottle, charger
- Stickers, in a small count
- One keepsake for joy
- Exam-day pouch with approved items only


