Created by the Kawaii Vibe editorial team. Our named style desks are editorial personas. Product details and availability can change.
Short answer: start with one small chain that sits close to your collarbone, add a second chain about 2 to 3 cm (around an inch) lower, and stop at three layers unless you want a bolder look. Keep one metal tone, give only one chain a pendant that really stands out, and let the neckline decide where everything lands.
That's the whole recipe for soft, cute layeringWearing pieces over or under one another to add depth, warmth or contrast.. The rest of this guide is about making it work in real life: how to space chains, how to mix charms without making a tangle, what to wear with what, and how to fix the usual problems. I'm Emi from The Cute Things Desk, and everything here is styling advice, not a promise about how any piece will fit your body.
You'll find outfit combinations you can copy, a few adjustments for different necklines and weather, and some optional pieces from the shop. Browse the full jewellery collection any time if you'd rather build your own stack from scratch.
The Quick Formula for Soft Layering
If you only remember one thing, remember the three-step stack. Layer one is a short, delicate chain that sits near the base of your neck. Layer two is a slightly longer chain with a small pendant. Layer three is the longest, and it's the one that gets to be a little more playful, like a heart, star or charm cluster.
Soft layeringWearing pieces over or under one another to add depth, warmth or contrast. is mostly about restraint. Pick one metal tone, keep two of your three chains fairly simple, and let one piece do the talking. When everything is loud, the stack looks busy rather than cute. When one thing leads, the others read as sweet little supporting details.
Gaps matter as much as the pieces. Aim for roughly 2 to 3 cm between each chain so every layer can be seen. Closer than that and they merge into one thick line. Much further apart and it looks like separate necklaces you happened to put on at the same time.
- Layer one: short and fine, sitting close to the neck
- Layer two: a small pendant, a little lower
- Layer three: the playful one, longest of the set
- One metal tone, one standout pendant

Chain Length Spacing Without a Measuring Tape
You don't need to be precise, but a few reference points help. A choker-style chain sits snug at the base of the neck. A princess-style length usually lands around the collarbone. A matinee length falls lower, toward the top of the chest. Different sellers describe these slightly differently, so always check the listed length on the product page rather than assuming.
A handy trick is to use your own body as a ruler. Hold a chain up and see where it lands in a mirror: base of neck, collarbone, or breastbone. For a three-layer stack, you want each chain to land on a different one of those spots. That naturally creates the gap without any maths.
Adjustable chains with extenders make this easier because you can nudge a layer up or down by a link or two. If a set comes with fixed lengths, check the listing for the lengths and picture how they'll stack before you buy. Where the listing doesn't state a length, don't guess; look at the product photos and compare them to the neckline you plan to wear.
- Base of neck: choker-type layer
- Collarbone: middle layer
- Upper chest: longest layer
- Gap target: about 2 to 3 cm between chains
Choosing a Metal Tone and Sticking to It
The easiest way to make a layered look feel soft and put together is to stay in one metal family. Gold-toned stacks look warm and a bit vintage. Silver-toned stacks look cool, clean and slightly more modern. Both work with pastel clothes, so pick whichever flatters your skin and wardrobe.
Mixing metals can be lovely, but it needs a plan. If you do it, make it obvious rather than accidental: for example, two silver chains and one gold pendant chain, so the gold reads as a deliberate accent. Three chains each in a different tone tends to look like you grabbed whatever was in the drawer.
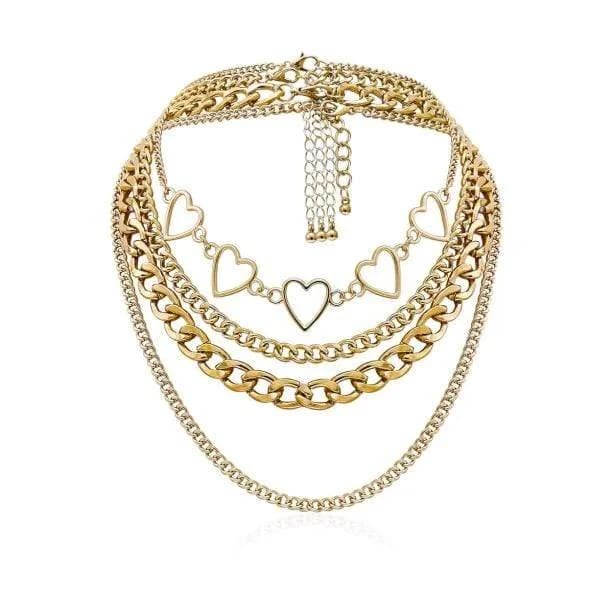
If you like options, the Soft Girl Necklaces come in Silver and Gold, which makes it simple to match what you already own. The Layered Chunky Heart Pendant Necklace is listed in Gold and Silver too, and its listing describes it as zinc alloy with a multi-layer design. Check your own skin sensitivities and the product page details before buying, since I can't say how any metal will suit you.

Mixing Pendants Without Making a Mess
Pendants are where layered necklaces usually go wrong. Two big pendants at the same height compete, and their edges clink and tangle. The fix is simple: only one chain gets a large pendant, and the others stay plain or carry a tiny charm.
Vary the shapes too. If your statement piece is a chunky heart, pair it with a thin plain chain and a tiny star or bead rather than another heart. Repeating the same shape in three sizes can look intentional, but it works best when the sizes step down clearly from large to small.
Also think about where pendants land relative to each other. Stagger them so that no two sit at the same height. A tiny charm at the collarbone, a medium one a few centimetres lower, and the large one lowest gives a gentle cascade. If two pendants end up at the same level, shorten or lengthen one chain by a couple of links.
- One big pendant per stack
- Stagger pendant heights
- Repeat a shape only if sizes clearly step down
- Keep the top layer plain if the lower ones are busy
Step-by-Step Combo: The Everyday Sweet Stack
This is the one to try first. Step one: put on a fine, plain chain that sits at the base of your neck. Step two: add a chain with a small charm at the collarbone. Step three: add a slightly longer chain with a soft pendant, like a heart or star. Done in about a minute, and it works with almost anything.
For clothes, think plain tee, a knit top or a simple cotton dress. The necklaces add the interest, so the outfit can stay quiet. A pale pink or cream top is lovely with gold; a soft grey or lilac one looks great with silver.
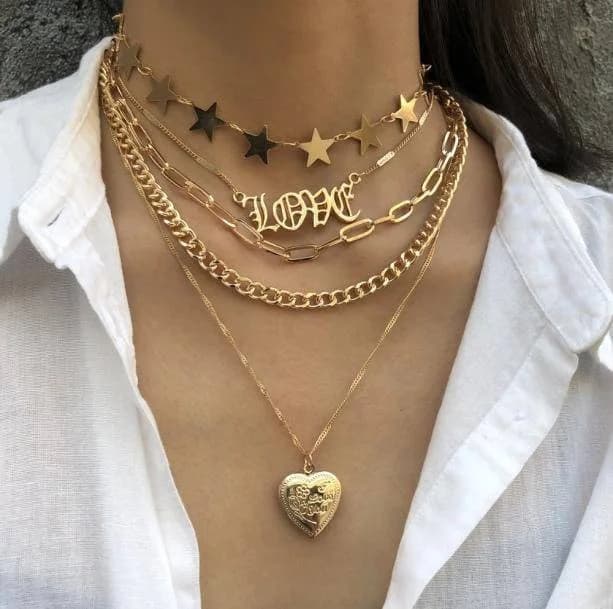
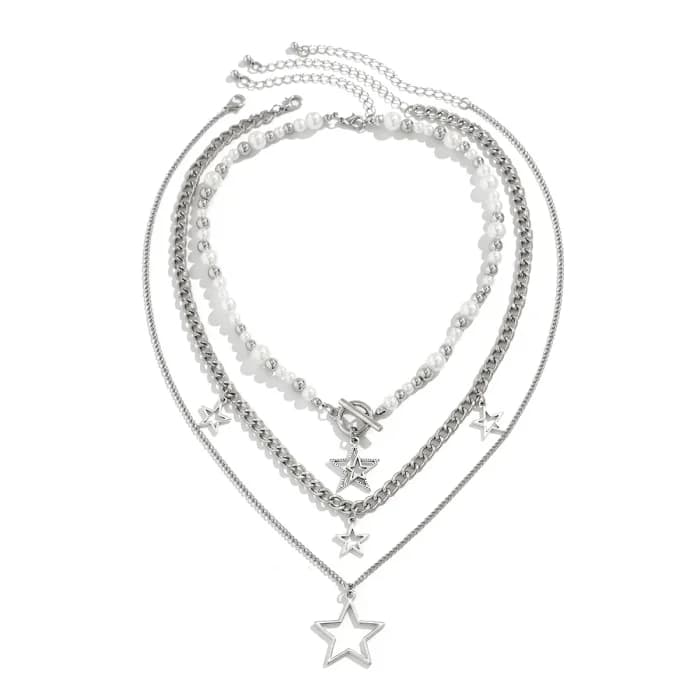
If you want a ready-made option, the Layered Star Necklace Set is a good fit here. It's listed as a layered set and shown as pictured, so it can cover the whole stack in one go. Treat it as the base, then add or remove a chain depending on your neckline. I'd start with the full set and take one off if it feels like too much.
Step-by-Step Combo: Dreamy Celestial and Sea-Soft
For a more whimsical look, build around a theme. Choose a theme chain as the lead, then keep supporting chains very simple. A moon-and-star mood suits a dark top or a pale lavender knit. A shell-and-sea mood suits white, sand or soft blue.
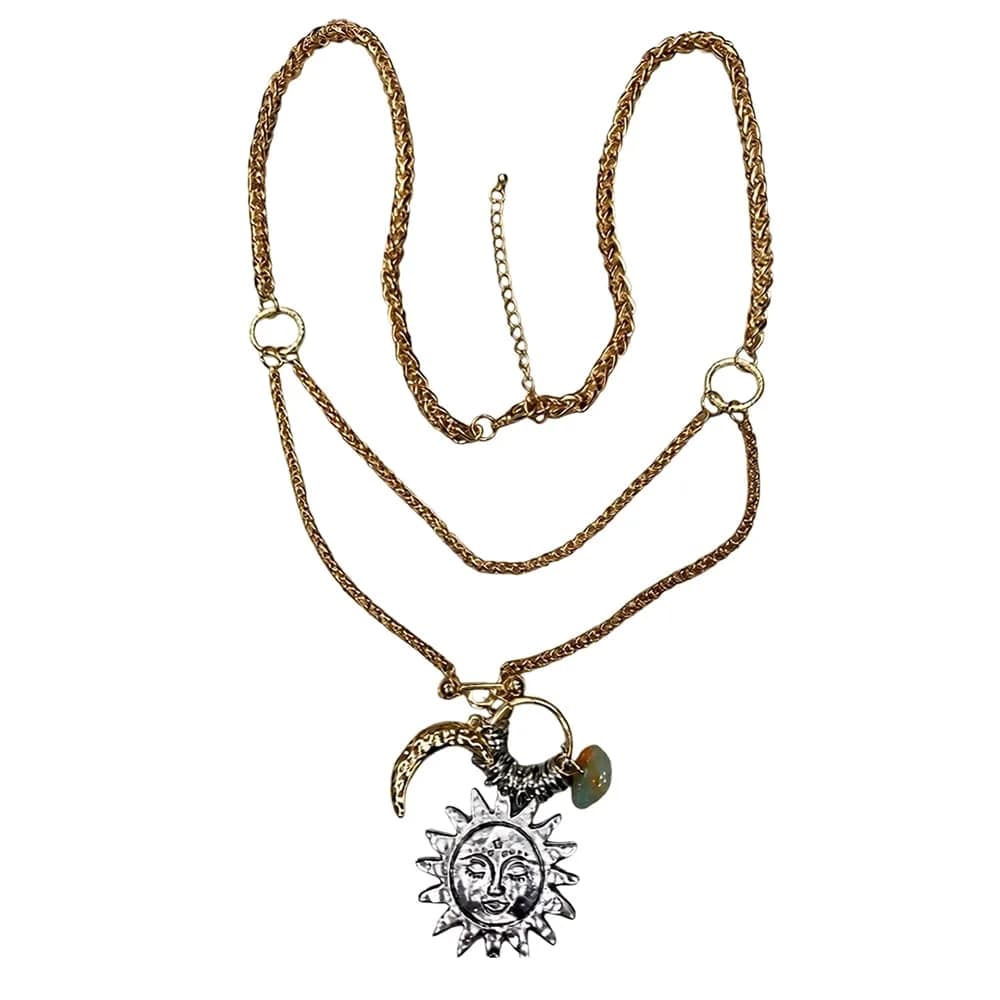
The Celestial Aesthetic Layered Necklace works well as the lead for a night-sky look. It's listed as pictured, so check the photos for how the layers fall and plan the rest of your outfit around them. Wear it with a simple scoop neck and avoid adding extra pendant chains on top, since it already has plenty going on.
For the sea-inspired version, the Mermaidcore Aesthetic Layered Necklace is listed in Gold. Gold against a white linen shirt or a pastel camisole feels warm and beachy. If you add anything, add one plain thin chain at the base of the neck and nothing else. Both of these are layered designs already, so think of them as the entire stack rather than the beginning of one.
Pairing Layers With Necklines
Your neckline is the frame, so choose chain lengths to fit it. A crew neck covers the base of the neck, so shorter chains disappear under it. Wear them over the top if you like, or choose longer chains that sit clearly on the fabric. A scoop neck is the easiest: almost any stack works, as the curve shows off the cascade.
V-necks work best when your chain shape echoes the V. Let the longest pendant point toward the bottom of the V, and keep the layers a little tighter together so the shape reads as a triangle. Square necklines like a little more space, so spread layers slightly and keep pendants small to avoid fighting the straight lines.
Off-the-shoulder and strapless tops give you lots of bare skin, which means a stack looks best when it's a bit more generous. A choker plus two longer chains fills the space nicely. Turtlenecks and high collars are different: wear a single long chain or two over the fabric, and skip short layers entirely.
- Crew neck: longer chains worn over the top
- Scoop: any stack, cascade looks best
- V-neck: chains that follow the V
- Square: wider spacing, small pendants
- Strapless: choker plus two longer chains
- High collar: one or two long chains only
Adding a Choker to the Mix
A choker is the quickest way to give a stack a cuter, more defined top edge. It sits snug, so it also solves the problem of a short chain wandering around your neck. Think of it as layer zero, with the rest of the necklaces hanging below it.
Keep the choker simple if the layers below it are detailed, and vice versa. A ribbon-style or slim chain choker pairs well with pendants, while a charm choker is best with plain chains underneath. Leave a gap of about two fingers between the choker and the next chain so the two pieces don't collide when you move.
If you want ideas, the aesthetic necklaces and chokers collection is the place to browse for a snug starting layer. Check each listing for the lengths and closure details so you know the choker will sit where you want it. If you're unsure, pick one with a visible extender and look at how it's styled in the photos.
Step-by-Step Combo: Soft Meets Grunge
Cute doesn't have to mean pastel only. A little edge looks great next to soft clothes, and the contrast is part of the charm. Try a sweet pink cardigan or a floral slip dress with a stack that has darker, slightly rebellious details like locks, keys or bold links.
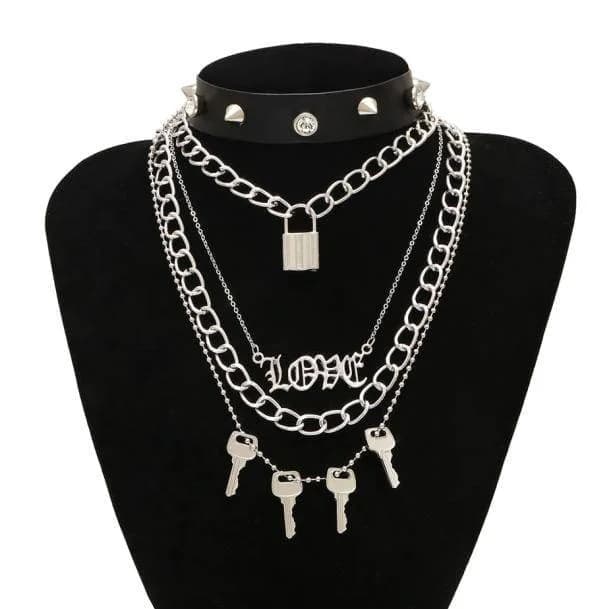
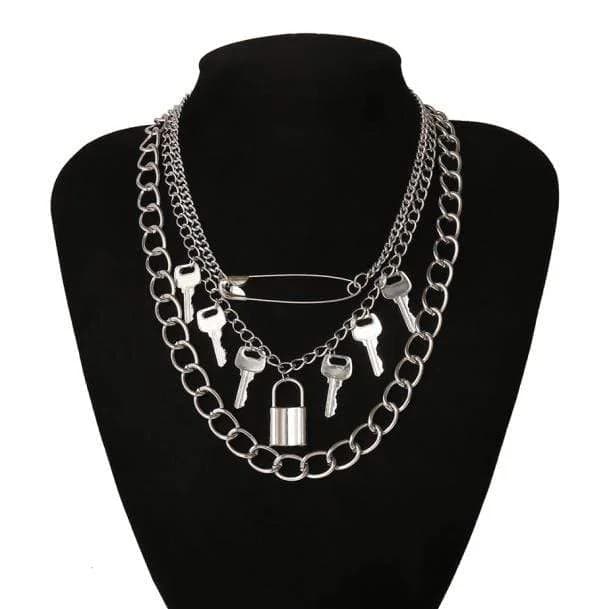
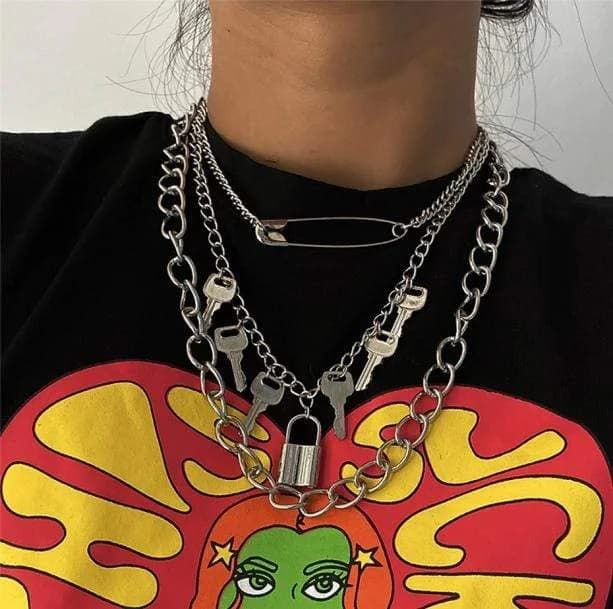
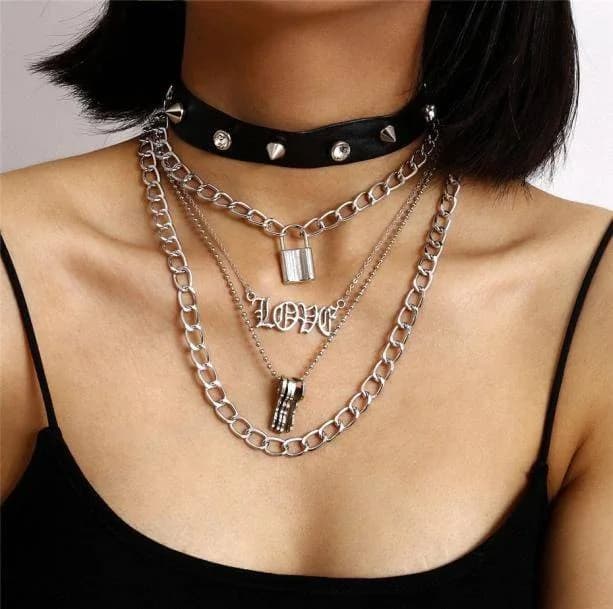
The Layered Lock and Key Necklaces are a good example. They're listed as pictured, so look at the photos to see how the layers sit. Wear them over a white baby tee or a soft knit and keep the rest of your jewellery minimal. A single ring is plenty.
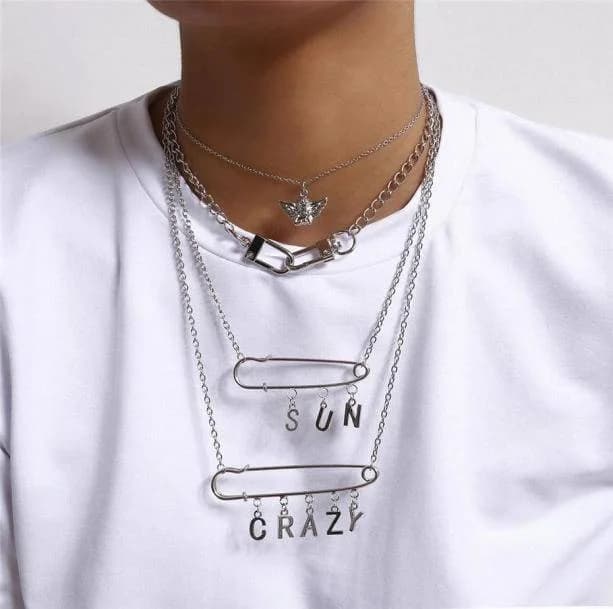
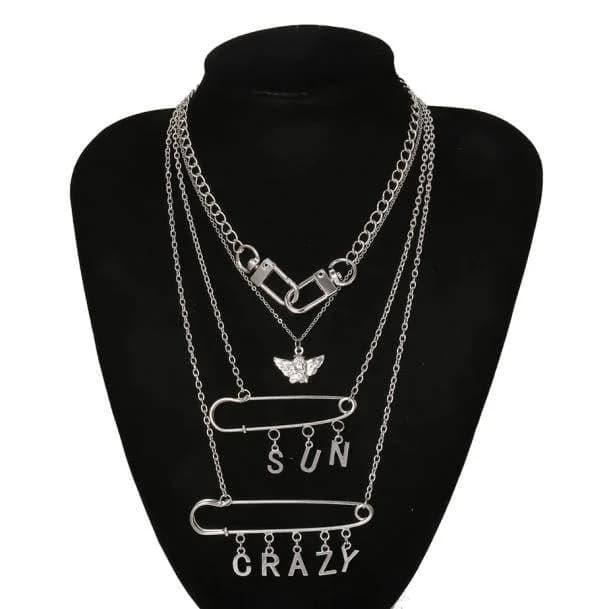
If you want a bit more attitude, the Crazy Grunge Necklaces and Grunge Love Necklaces are both listed as pictured, with one size. Use one of them as the whole look rather than combining several grunge pieces, which can quickly feel heavy. Balance the edge with something soft, like a pastel top, a ribbon in your hair or a pleated skirt.
Weather and Fabric Considerations
LayeringWearing pieces over or under one another to add depth, warmth or contrast. changes with the weather, and you don't need a particular season to think about it. In hot or humid conditions, chains can feel sticky against skin, so go lighter: two fine chains rather than three, and avoid anything heavy that drags on the back of the neck. In cold weather, necklaces often end up over or under knitwear, so plan for that.
Fabric matters. Chunky knits can catch fine chains and pull on them, so wear delicate layers under the knit or switch to sturdier links on top. Silky fabrics let chains slide around, which is lovely but can cause tangles. Smooth cotton is the most forgiving.
Scarves, hair and bag straps are the other tangle culprits. If you're wearing a scarf, a long single chain over the top often looks better than a full stack hidden beneath it. Long hair can catch short chains, so flip it to one side before fastening anything. And if you're heading out for a long day, do a quick check in a mirror before you leave.
How to Compare Layered Sets and Single Chains
Layered sets and individual chains each have their place. A pre-made set saves time and gives you a spacing that someone has already planned. Single chains give you flexibility to build and change things up. Many people end up with a mix: one set as a base, plus a couple of singles for variety.
When you compare options, check these things on the product page: the listed chain lengths, whether there's an extender, the colour options, and the material if it's stated. Some listings give detail and others don't, so only count on what's written. If a listing doesn't mention a material or measurement, don't assume.
Think about the look of each layer, too. Do the chains differ enough in thickness to look interesting? Is there one clear focal pendant? Will the set work with the necklines you wear most? If the answers are mostly yes, it's a good fit. Browse the kawaii jewelry collection for playful options, or the aesthetic jewelry collection for a wider mix of moods.
- Check listed lengths and extender details
- Look at the colour or metal options
- Confirm there's one clear focal pendant
- Only rely on materials the listing states
Common Pitfalls and How to Fix Them
The classic problem is tangling. The fix is to fasten chains one at a time, longest first, so the shorter ones go over the top without catching. Taking them off, undo them in the opposite order. Store each set flat or hung separately rather than piled together.
Another issue is chains that bunch up into a single line. That usually means they're too similar in length. Swap one for a chain that's at least 2 cm longer or shorter, or use an extender to open up the gap. Weight can cause the same effect: a heavy pendant pulls its chain lower and may cross another one.
Finally, there's the too-much problem. If you look in the mirror and can't tell what you're looking at, take one chain off. Cute layeringWearing pieces over or under one another to add depth, warmth or contrast. should feel light and readable. Also remember that chains twist when you move, so give them a quick straighten when you get dressed and again midday if you notice them flipping.
- Fasten longest first, remove in reverse
- Keep at least 2 cm between chain lengths
- Use one heavy pendant, not several
- If it looks crowded, remove a layer
Caring for and Storing Your Stack
Fine chains last longer when you treat them gently. Put your jewellery on after skincare, perfume and hairspray have dried, and take it off before swimming, showering or sleeping. Moisture and products can dull finishes over time, and I'd rather you build the habit than find out the hard way. Check each product page for any care notes the listing provides.
Store pieces separately. A small pouch, a compartment in a jewellery box, or a hook on a wall all work. If you have a layered set, hang it from a single hook with a bit of space between the chains, or lay it flat on a soft surface. Tangles are far easier to prevent than to undo.
If a knot does appear, stay calm. Lay the chain on a flat surface, add a tiny bit of patience and use a pin or needle to gently tease the loop open. Pulling hard just tightens it. Work from the outside of the knot inwards, and stop and take a break if it isn't coming loose.
Your Layering Checklist and a Simple Shopping Plan
Before you head out, run through a quick checklist. It takes thirty seconds and saves you from the most common problems. Then, if you're building a collection, start small and add one piece at a time rather than buying a whole wardrobe of necklaces at once.
A sensible plan: begin with one fine chain you'll wear daily, add a pendant chain that suits your usual neckline, then bring in a themed or statement piece when you feel ready. For a ready-made start, try the Layered Star Necklace Set or the Layered Chunky Heart Pendant Necklace, and explore the main aesthetic necklaces and chokers collection as your taste develops.
The goal isn't to follow rules perfectly. It's to find a stack that makes you smile when you look in the mirror. Start with the formula, adjust it for your neckline and mood, and change one thing at a time until it feels like you.
- One metal tone chosen
- Three layers or fewer to start
- Gaps of roughly 2 to 3 cm
- One standout pendant, staggered heights
- Neckline matched to chain lengths
- Chains fastened longest first
- Listing details checked before buying