Created by the Kawaii Vibe editorial team. Our named style desks are editorial personas. Product details and availability can change.
You can style a surprising amount of hair with nothing but small clips. No hair tools, no elastics, no twenty-minute tutorial. A few snap clips and mini pins can pin back a fringe, tuck a side section, make a half-up shape or turn a plain ponytail into something that looks planned.
This guide is built around hair pin hairstyles that work with only small accessories. It is split by hair length, then by outfit, weather, placement and shopping. Where it helps, we point to optional pieces from the shop, but every technique here works with whatever small clips you already own.
Emi · The Cute Things Desk writes these as an editorial persona, so there are no claims of personal testing. What you get is practical sequencing, proportions and things to check before you buy.
The Quick Answer: What You Actually Need
Start with six to ten small clips in two or three styles. That is enough for almost every look below. Aim for a mix of snap clips, which open and close flat against the hair, and slimmer pins, which sit in a section and mostly act as decoration. Having both lets you hold hair in place and add a focal point separately.
If you want a simple starter shopping route, browse the Hair Pins & Scrunchies collection for the basics, then the Little Accessories collection if you want to keep the spend small. Pick one finish you like, such as pearly, pastel or glossy, and buy a couple of shapes in it so the clips look like a set.
The core idea is that small clips do three jobs. They control, meaning they keep hair off your face. They shape, meaning they create a part, a twist or a half-up line. And they decorate, meaning they give your eye somewhere to land. A single clip can do two of these, but a good look usually uses at least one of each.
Everything here assumes clean-ish, dry, brushed hair. If you only remember one rule, it is this: place clips where the hair already wants to go, then let them hold it there. Fighting your natural fall makes any accessory slip.
Snap Clips vs Mini Pins: Knowing Which to Reach For
Snap clips are the workhorses. They close with a click, lie flat, and grip a section of hair along their length. That makes them best for sweeping a side section back, holding a fringe, or anchoring a twist. Longer or rectangular shapes cover more hair and read as a bold accent. Shorter ones disappear a bit more and read as tidy.
Mini pins and small decorative clips are lighter. They tuck into a section of hair and are better for accents, small bows, little shapes, and for repeating the same motif two or three times down a side. They do less holding, so use them on hair that is already secured by a twist or tuck rather than expecting them to lift heavy sections.
A useful test is how much hair you need to hold. A small pinch, such as a wisp by the temple, suits a mini pin. A palm-width section, such as one side swept back, wants a snap clip. If you are unsure, pin first with a plain clip, check the shape in a mirror, and add the decorative piece next to it.
Do not assume every clip suits every texture. Fine, slippery hair tends to need more hair per clip and a placement near a twist. Thick, coarse hair often needs a wider clip or two clips stacked. Check each product page for size and quantity information, and treat details you cannot find as unknown rather than guessed.
Prep: Sectioning and Texture Before You Clip
Most clip looks fall apart because of the prep, not the accessory. Brush your hair so there are no tangles at the clip site, then part it where you want the look to sit. A quick finger comb along the part line is enough. If your hair is freshly washed and very soft, it may slide out of clips more easily, so many people find second-day hair easier to work with.
Divide into small, even sections using your fingers. For a side clip, take a triangle from the part line to just above the ear. For a half-up shape, take a section from temple to temple across the top. Smooth the section once, twist it one or two turns if you want grip, then clip.
Texture changes the plan. Straight hair shows every bump, so keep sections neat. Wavy and curly hair gives clips more to hold, so you can use fewer and place them slightly looser. Very short layers will pop out, so work with the longest pieces first and use the pin on top of them, not underneath.
Keep a small mirror or your phone camera handy to check the back. Clips often look tidy from the front and lopsided from the side. A thirty-second check saves you from walking around with one clip hanging off a twist.
- Brush first, then part
- Twist sections one or two turns for extra grip
- Start with the longest pieces
- Check the side and back view before leaving

Short Hair Looks: Chin Length and Above
Short hair is where small accessories shine because they are in proportion. Start with the simplest look: a side sweep. Part on the side you prefer, take the heavier side, tuck it behind your ear, and secure it just above the ear with a snap clip angled slightly backward. Add one small decorative pin right next to it. The result is clean and takes under a minute.
For a two-clip look, make a gentle twist on each side. Take a thin section from the temple, twist it back two turns, and clip it at the crown area, with both clips at the same height. Symmetry looks neat and intentional on short hair. If you want it relaxed, offset them by a finger width.
Short fringe grows out awkwardly, and clips help. Sweep the fringe to one side, flatten it with your palm, and place a snap clip at the end of the sweep so it sits along the hairline, not on the forehead. Use a longer clip for a more graphic edge or a small bow for a softer finish.
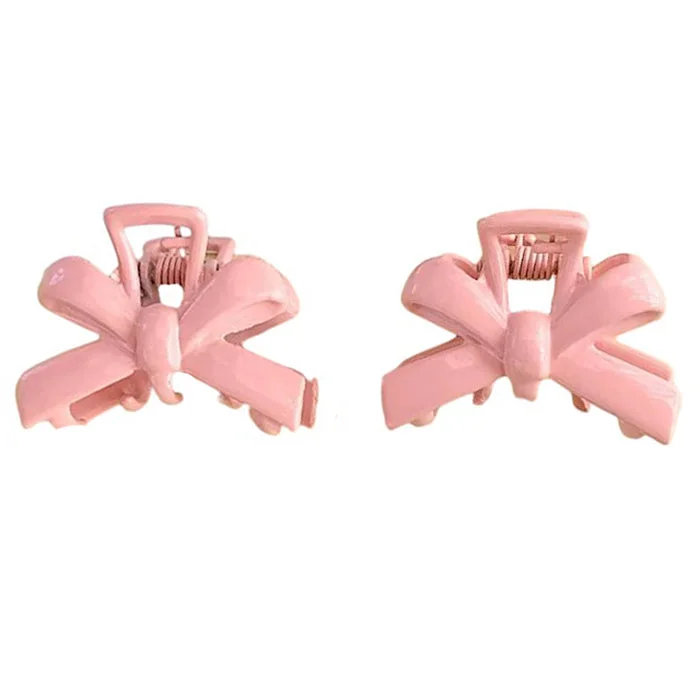
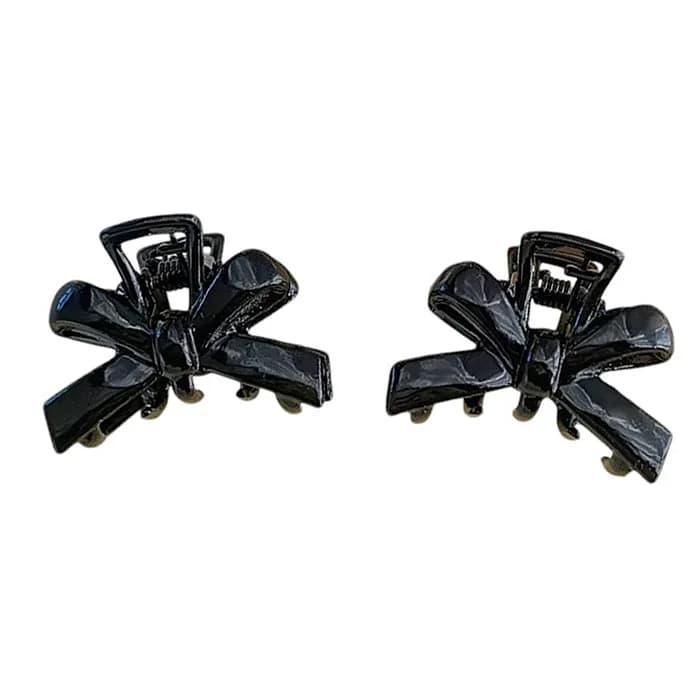
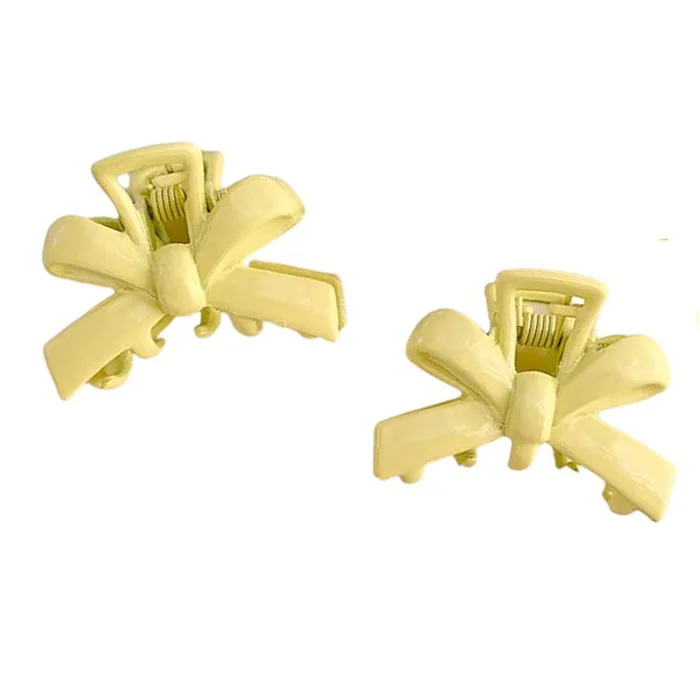
A cute option here is the Soft Girl Mini Bows Hair Clips, listed in pink, yellow and black, one size. Pink or yellow suits a bright knit or tee, and black is the easier pick if your wardrobe is mostly neutral. Use them as the side accent next to a plain snap clip.
Medium Hair Looks: Shoulder to Collarbone
Medium hair is the most flexible length for pins. The easiest look is the half-up clip. Take the top section from temple to temple, twist it loosely back, and secure it at the crown with a snap clip. Pull a few face-framing strands out so it doesn't look too tight. Add two small pins on one side of the clip to widen the focal point.
For a tucked side look, part deeply, tuck the shorter side behind your ear, and stack two snap clips vertically along the tuck, about a finger width apart. The line they make tends to read as designed rather than functional. If your hair is thick, put the lower clip a bit further back so each one catches fresh hair.
Another fast option is the twisted pair. Take two thin sections from the front, twist each one back, cross them behind your head, and clip them together where they meet. This works on straight and wavy hair and gives some lift without teasing. Keep the clip small so it hides under the upper layer if you prefer subtle.
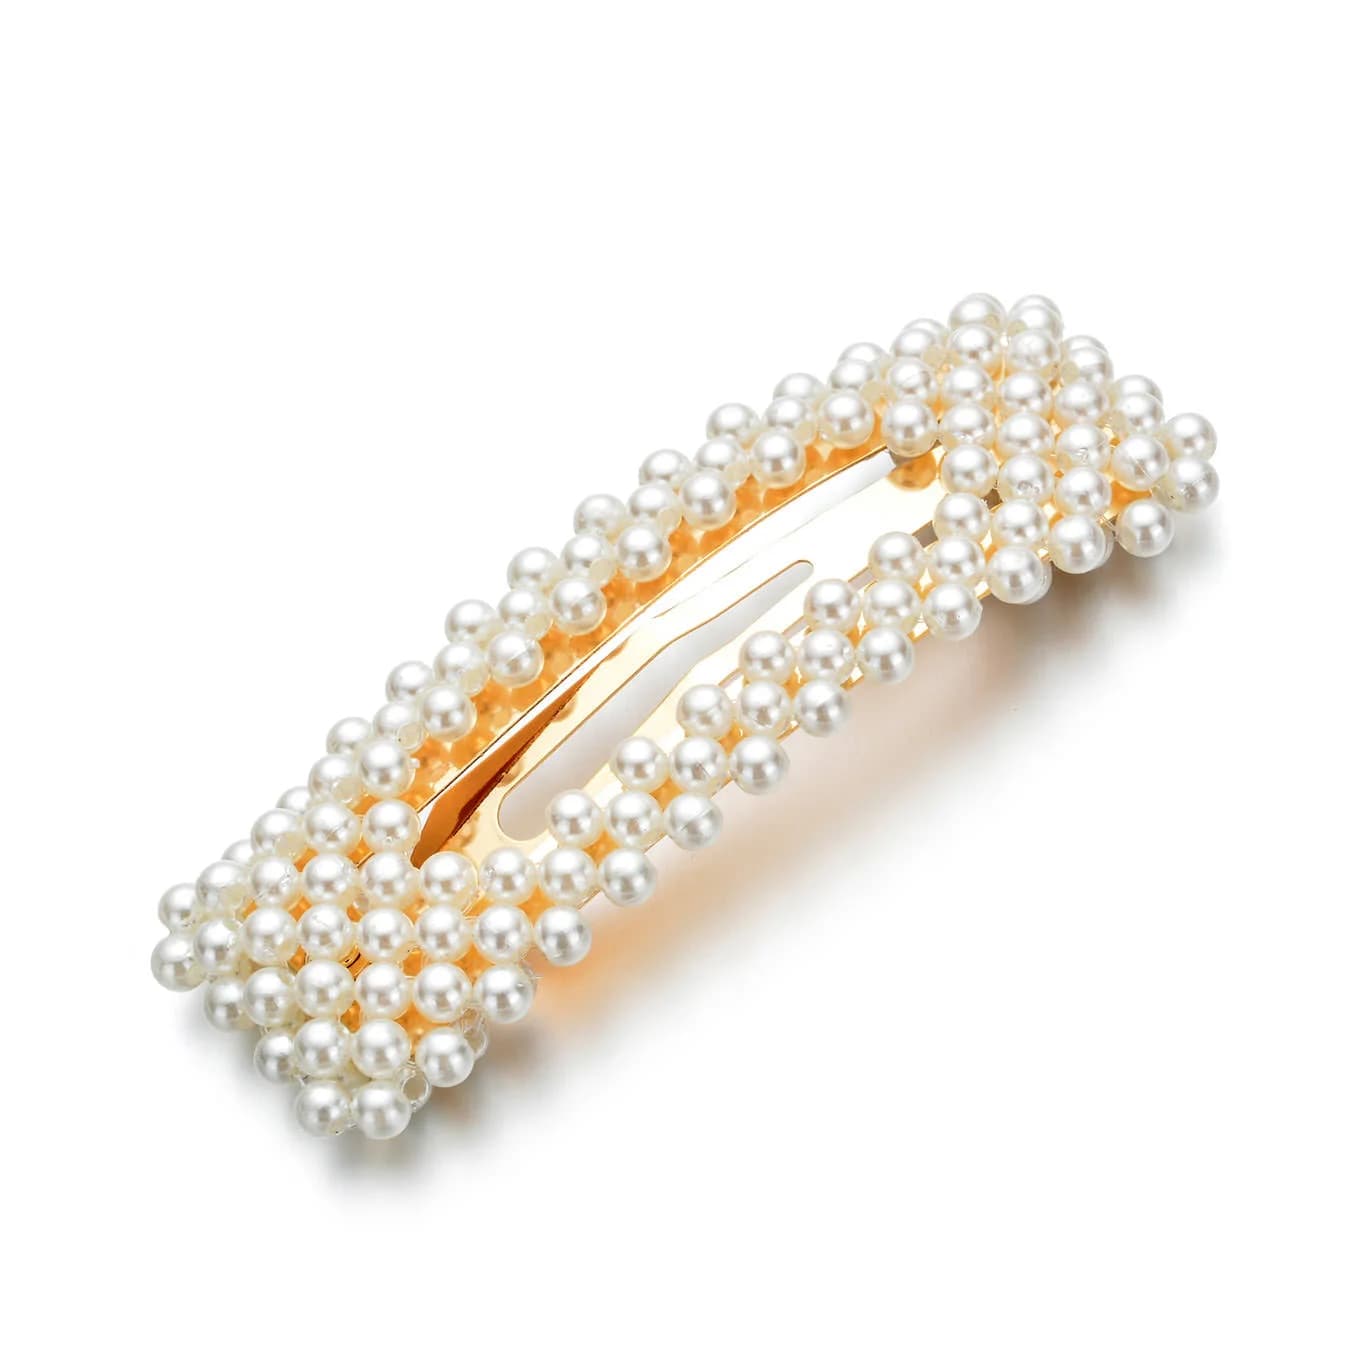
If you like a pearly finish, the Large Pearl Snap Hair Clips come as rectangle (2pcs) or triangle (2pcs). The rectangle suits the side tuck line, since it follows the length of the section. The triangle suits the crown of a half-up look as a more directional accent.

Long Hair Looks: Past the Shoulders
Long hair needs a plan, because a small clip can't carry much weight alone. Treat the clip as a finishing point and let a twist, tuck or braid do the structural work. The simplest example is the half-up twist: take the top layer, twist it back, and secure it with a snap clip at the crown. Add a pair of small pins at the sides to echo the shape.
For a face-framing look, take two thin sections from the front and secure each one behind the ear with a clip, leaving the rest down. This opens your face without changing the overall silhouetteThe overall shape an outfit creates, from fitted to loose and layered.. It suits long straight hair particularly well because it adds shape where there is otherwise just length.
Another idea is the ladder of pins. Make a side part, sweep one side back, and place three small clips in a descending line from the temple toward the ear, spacing them evenly. Use matching shapes, or alternate two sizes. This works as a decorative statement more than a hold, so pre-twist the hair first.
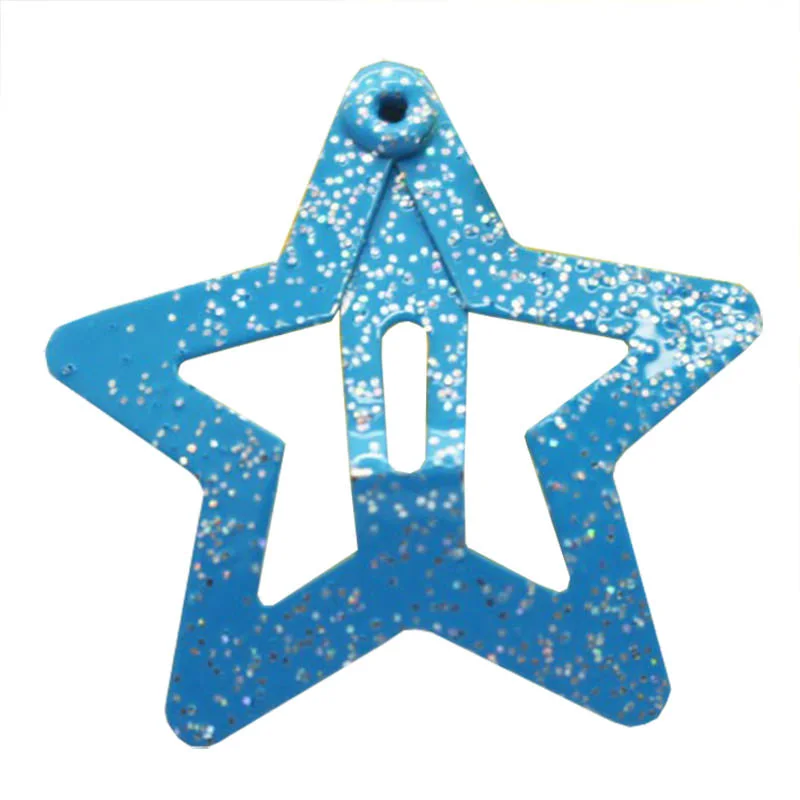
The Star Snap Hair Clips, listed as multicolor with 12 pcs, suit this ladder idea well because you get enough pieces to repeat the motif and mix colors. Use three on one side, or scatter a few across a half-up section. With a set that size, you can also pass a few to a friend.
Fringe, Bangs and Face-Framing Strands
The front of your hair decides how finished a look seems, so give it extra care. For full bangs that you want off your face, divide them into two halves from the center, sweep each half sideways, and fix each with a clip at the end of the sweep. This opens the forehead while keeping the shape. Flat clips work best here because bulky ones can push the bangs forward.
For curtain bangs, you rarely need to clip the whole section. Instead, tuck one side behind the ear and put a mini pin just behind the tuck. The fringe falls naturally on the other side. If the tucked side keeps slipping, twist it slightly before tucking.
Growing-out bangs are the most common reason people grab clips. Pin them in a diagonal sweep, with the clip angled toward the back of the head, so the grown-out length blends into the rest of your hair. Place the clip lower than you think; too high and it can look like a headband rather than a sweep.
If you add a decorative piece, keep it to one side. A single little bunny, shell or bow reads as a sweet detail, while a clip on each side starts to feel crowded near the face. Leave at least a finger width of bare hair between accent clips.
Pairing Clips With Outfits
Think of small clips like jewelry: they should relate to the outfit, not match it exactly. With a plain white tee and jeans, a pearly snap clip and a tiny bow gives a clean, soft finish. With a pastel cardigan, pick a clip in the same tone family but a shade away, which looks coordinated rather than matched.
With a patterned dress, keep the hair accessories simple. One or two plain snap clips in a neutral tone give you the hold without competing. With a mostly black outfit, this is where a playful set works: a handful of colorful star clips or a pink bow adds the one bright note you want.
For an indoor cozy look such as an oversized sweater and pajama pants, go with something characterful. The Cottagecore Bunny Hair Clips are listed as acrylic, brown, a resting rabbit design, and come as a set of 2 with no clip dimensions listed. They suit a soft knit or earthy colors, and the pair means you can place one on each side of a half-up shape.
If you are building a wider look with other kawaii details, such as bag charms, socks or stationery, browse the Kawaii Accessories collection and keep one theme running. Repeat a shape or color twice across your outfit and the hair accessory feels connected.

Choosing Colors and Finishes That Work Together
A quick way to choose is to sort clips by finish: pearly, glossy, matte, metallic or printed. Mix at most two finishes in one hairstyle. A pearl clip next to a matte pastel one is fine; a pearl, glitter, metallic and printed clip together tends to look chaotic unless that is exactly your aim.
Next, think about contrast with your hair color. Dark hair shows light and bright clips well, while pale hair can hide very light ones. If you want the clips to show, go a step brighter or darker than your hair. If you want them to blend into the style, stay close to your tone and let the shape do the talking.
The Aesthetic Hair Accessories collection is a handy place to compare finishes side by side. Open a few pieces and ask whether they would sit well with the clips you already own. If a new piece needs three specific outfits to work, it may not earn its place.
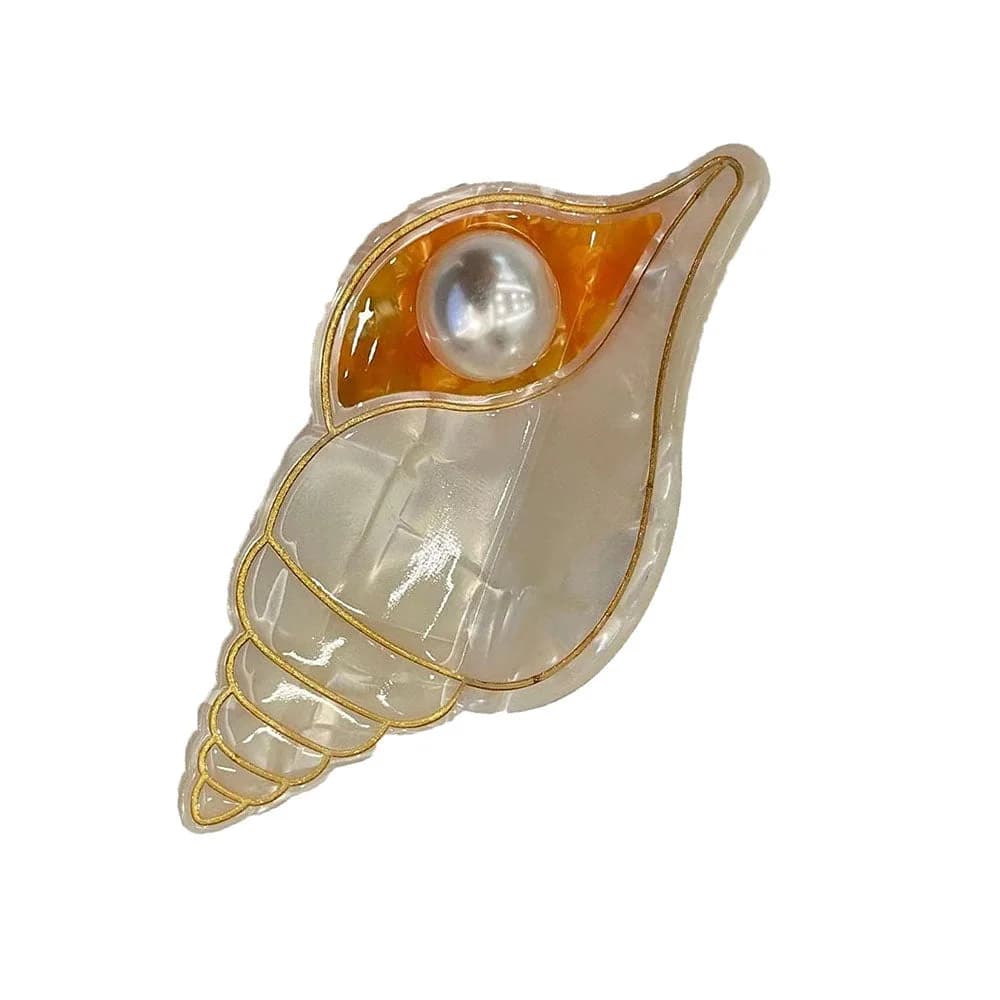
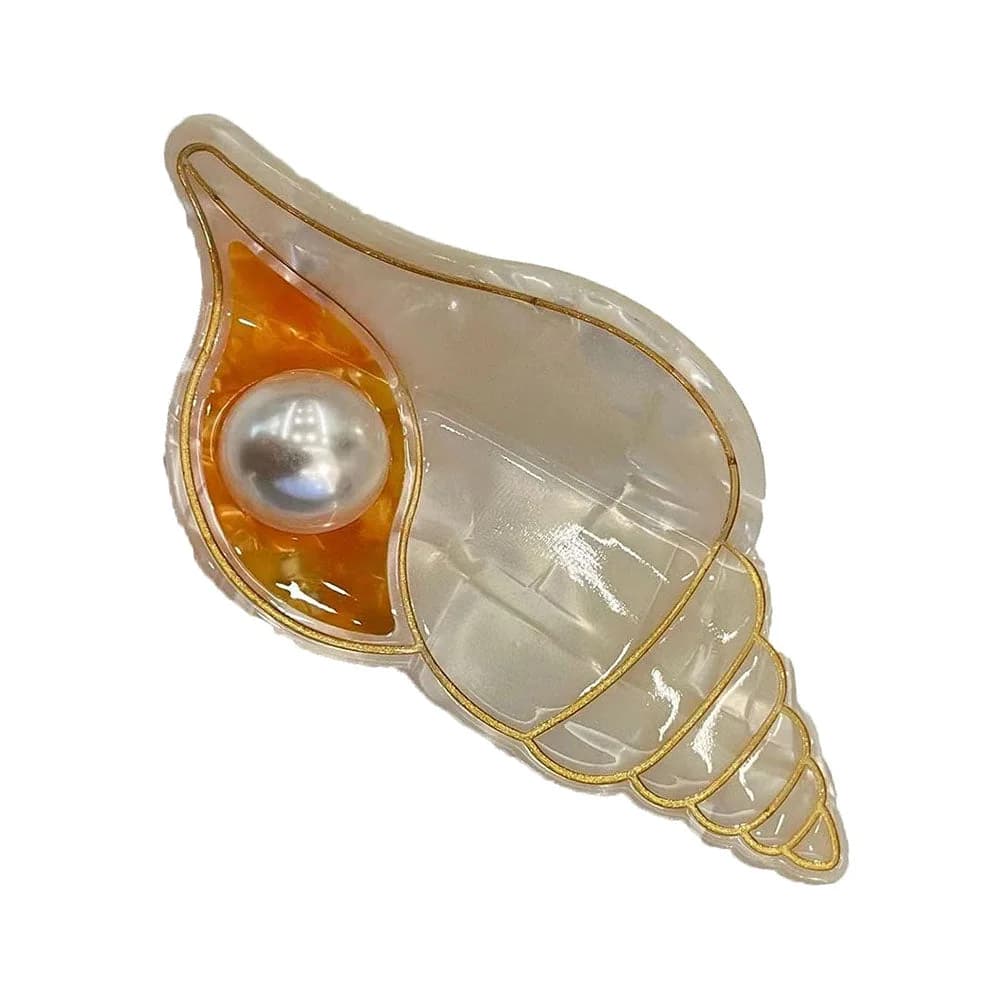
For something shell-toned or warm, the Seashell Mini Hair Clips are listed in orange, sold as a standard size with 2 pcs. Their warm color could sit nicely against dark hair or with neutral outfits, and the pair format suits a symmetrical tuck behind each ear.
Weather, Activity and All-Day Wear
Conditions affect how well clips hold. In humid weather, hair can swell and loosen its grip, so twist sections more tightly and place clips slightly deeper. In dry or windy conditions, flyaways pop out; smooth sections with a damp palm before clipping. These apply anywhere in the world, whatever month it is.
If you will be moving a lot, such as commuting, walking or being on public transport, choose snap clips over tiny decorative pins for anything holding hair. Keep the decorative items on hair that is already secured. Before leaving, nod your head a few times and shake lightly; if a clip shifts, reposition it.
Hats, hoods and scarves change the plan. Clips on top of the head may be crushed by a beanie or hood, so place them lower, behind the ear, or skip decorative pieces and add them after you take the hat off. Helmets and sports gear are another case where accessories should be skipped.
Carry one spare clip in a bag pocket. It's a simple fix for an escaped strand later in the day, and it lets you swap a look from practical to cute without redoing anything. Avoid sleeping in decorative pieces, since they may press into your head and can bend or get lost.
Placement and Proportion: Where Each Clip Sits
Placement is the difference between a clip that looks effortless and one that looks like an afterthought. As a rough guide, imagine your head in three zones: the front (hairline to temples), the side (temples to ears), and the back (crown to nape). Accents usually read best in the front or side zones, where they are visible, while holding clips can live at the crown or behind the ear.
Proportion means keeping the accessory in scale with your hair and face. On short hair, one or two small pieces is usually enough, while long hair can take a cluster of three or four. A single oversized clip with very fine hair can look top-heavy, so go for a rectangle or slim shape that follows the line of the section.
Angle also matters. Clips placed horizontally tend to look calm and tidy. Clips placed on a diagonal, pointing from the face toward the back, make a look feel more sweeping and lively. Vertical placement creates a ladder effect, good for repeating small pieces.
Use odd numbers for clusters, such as three small clips, and even numbers for symmetrical pairs. If you are working with a set, spread the pieces unevenly, with two close together and one slightly apart. This keeps a cluster feeling relaxed instead of arranged.
How to Compare Options Before You Buy
Before adding any clip to your basket, go through the listing. Check the stated size, the number of pieces, and the available options. A set of two serves a symmetrical look, while a set of twelve suits clusters and sharing. If the listing doesn't tell you the material or measurement, don't guess; look at the photos and decide whether you're comfortable with that unknown.
Next, think about the job. Is the clip meant to hold hair or to decorate? Snap-style pieces such as the pearl and star clips are described as snap clips, while other styles are simply listed as clips or hairpins. If you need real hold, choose the type you already know works on your hair texture.
Think about how many outfits it will work with. A clip that suits three of your usual outfits is worth more than a very specific one. The Little Accessories collection is a convenient place to compare several small pieces at once, and browsing by shape rather than by price helps you notice gaps in your set.
Finally, compare variety against repeat. Buying one cute, unusual piece and two plain ones is usually more useful than three novelty ones. The plain clips do the holding, and the novelty piece gets to be the star without having to work too hard.
Common Pitfalls and Easy Fixes
The first pitfall is clipping too little hair. A clip that catches only a few strands will slide out, so take a slightly larger section and twist it first. The second is clipping too close to the end of a section; leave a bit of room so the clip grips the body of the hair rather than the tips.
Another common mistake is overcrowding. Four or five different clips on one side may seem fun in your hand but can read as messy in the mirror. Pick a leading piece and let the others support it. If you love a busy look, repeat one shape or color so there is still a pattern.
Pulling too tight is a comfort problem. If a clip tugs at your scalp, loosen it or move it. Hair should rest comfortably, and a headache from your hairstyle is a sign to change the placement. Also be gentle when removing clips, opening them fully before sliding them out so you don't catch hair.
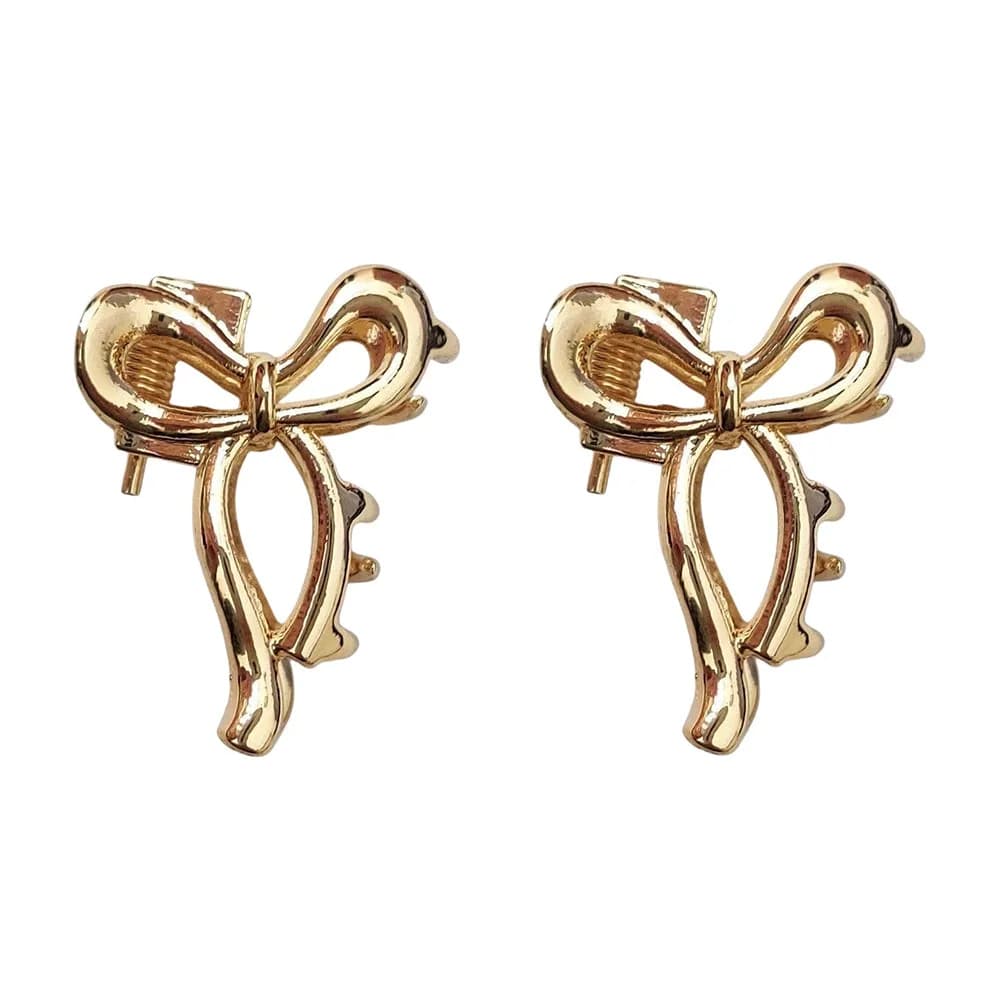
Finally, don't ignore the back. A clip that looks lovely from the front can leave a lopsided bump behind. Do a quick check, and if you notice a gap, add a plain clip to level it. For quirkier options such as the 6pcs Worm Hair Clips or the Set Of 3 Electronic Chip Hairpins, use them as a single playful accent rather than a full row.
Final Checklist and Three Starter Kits
Run through this list before you head out: hair brushed and parted, sections twisted, holding clips placed first, decorative pieces added second, back checked, and one spare clip in your bag. If everything feels comfortable, you're done.
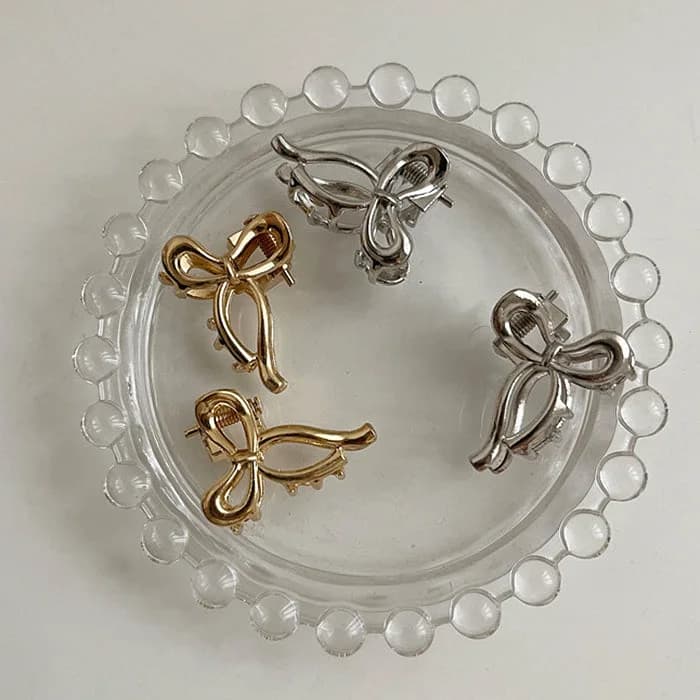
If you're starting from nothing, here are three mini kits. The everyday kit is two plain snap clips plus one decorative bow, which covers side sweeps and half-up shapes. The playful kit is a multi-pack of small shapes for ladders and clusters. The soft kit is a pearly pair with a bunny or shell pair, good for symmetrical tucks and cozy outfits.
When you want more variety, go back to the Hair Pins & Scrunchies collection and choose one new shape at a time. Add pieces slowly, so you learn what suits your hair before you fill a drawer. If a clip never leaves the dish, that's useful information about your taste.
The best hair pin hairstyles are the ones you can repeat without thinking. Learn two or three placements, such as the side sweep, the half-up twist and the tucked pair, and then change the accessories. A small set of well-chosen clips can give you a different look every day with very little effort.
- Brush, part and twist sections first
- Place holding clips before decorative ones
- Limit finishes to two per look
- Check side and back views
- Keep one spare clip with you