Created by the Kawaii Vibe editorial team. Our named style desks are editorial personas. Product details and availability can change.
Here's the short version: kawaii makeup is soft color, bright eyes, a rosy flush and a bit of shine. Pick one feature to be the star, keep everything else light, and build in thin layers. If it looks fresh, a little playful and easy to wear all day, you're on the right track.
Kawaii is the Japanese word for cute, and the makeup side of it has plenty of versions. Some are sweet and pastel. Some are loud and Harajuku-inspired. Some have a grunge or punk twist, like pink blush with a black band tee and scuffed boots. You don't need a certain face shape, skin tone or eye shape to wear any of them. You just adjust where the color goes so it works on your features.
Below are ten tips, from base to sparkle, followed by outfit pairings, a touch-up kit, mistakes to skip and a few quick answers. Take what suits you and ignore the rest. It's your face.
Tip 1: Choose one star feature
Kawaii makeup gets messy when everything competes. Decide what leads before you open a single product. Your three easy options are eyes, cheeks or lips.
Eyes as the star means pastel shadow, a short wing and curled lashes, with a sheer blush and a light lip. Cheeks as the star means a bigger, rosier blush with clean, simple eyes and a tinted balm. Lips as the star means a glossy pink or cherry tint, with just mascara and a hint of blush.
This keeps the look cute instead of crowded. It also makes mornings faster. On a rushed day, blush and gloss are enough. On a night out, go for the eye look with tiny lower-lash lines and a little glitter. Same idea, different volume.
Tip 2: Keep the base thin and fresh
The soft, fresh finish people love in kawaii makeup comes from a light base, not from covering every inch of skin. Start with moisturizer, and add a primer if you like how it feels. Then use a thin layer of skin tint, foundation or cushion compact, whichever is lightest on you.
Put concealer only where you need it, like the inner corners of your eyes, around your nose or over a spot. Press it in with a fingertip or damp sponge instead of swiping. Pressing leaves less product sitting on the skin and fewer lines to settle into.
Skip the heavy powder on your cheeks. Dust a little on your forehead, nose and chin if you get shiny, and leave the apples of your cheeks dewy so blush melts in. Your skin doesn't have to look poreless. A smooth, healthy-looking finish is plenty. Check your base in daylight near a window, and blend down your jaw so there's no line.
Keeping your hair off your face while working on your base helps you blend foundation evenly. Pinning your fringe back with pieces from the kawaii hair accessories collection keeps strands away from your forehead and temples while you apply liquid products. A quick clip lets you see your jawline clearly in the mirror before your base sets.
Tip 3: Wash on pastel shadow, don't stack it
Think of pastel shadow as a tint, not a statement. Pick a shade like peach, soft pink, lilac, baby blue, mint or warm rose. Sweep it over the whole lid with a fluffy brush, then keep going a little past the outer corner so the shape looks lifted and sleepy-sweet.
To add depth without going dark, tap a soft brown or deeper rose into the outer third of your lid and a little along the crease. Blend until you can't see where one color stops. If your eyes start to look heavy, you've gone too far. Wipe back with a clean brush.
If you have hooded lids or monolids, apply shadow where you can see it with your eyes open. Look straight into the mirror and place color on that visible area. Eyelid tape or stickers are an option if you enjoy them, but you don't need them for this look. For brows, use a gel or brow mascara one shade softer than your natural color, brush the hairs up and out, and stop there.
On deeper skin tones, soft pastels can look chalky if the formula is sheer. Choose pigmented shadows, or lay a thin cream base underneath. Swatch on your hand before you commit.
Tip 4: Draw a soft, friendly liner
Liner is where the cute shape happens, and a few small choices change the whole mood. For a wide-eyed look, draw a short wing that follows the angle of your lower lash line. For a sweeter, sleepier look, draw the line slightly downward at the outer corner instead. Neither is better. It depends on your eye shape and what you like.
If black feels too sharp, try dark brown or a brown-black. Draw tiny dashes along your lash line and connect them. It's steadier than one long stroke. Keep the line thin near the inner corner and let it thicken as it moves out.
Then try the little detail that makes the look read as kawaii: lower lash lines. Use a fine-tip liner pen or a sharp pencil to draw three to five small, slightly curved strokes under the outer half of your eye. Space them like real lashes, not like a fence. A light shimmery shade on the inner corner or just under the lower lash line brightens things up. Keep product on the lid and lash line, not inside your eye.
Tip 5: Curl, coat and measure your lashes
Lashes carry the doll-eyed effect. Curl first, then coat. Hold the curler at the base for a few seconds, ease up the lash in two steps, then apply mascara from root to tip. Do your lower lashes too, with the wand held vertically and small wiggles.
If you want false lashes, measure before you glue. Hold the band along your lash line and see where it ends. Most strips are longer than your eye, so trim from the outer end, never the inner. A band that sticks out past your eye corner will lift and itch by lunchtime.
For the lower lash line, cut a strip into two or three tiny sections, or use individual clusters. Place them only on the outer half. Let the glue get tacky before pressing the lash on, and follow whatever directions come with your lashes and glue.
Wispy and short-to-medium styles feel lighter than thick, dramatic ones. If lashes feel heavy or you're out all day, skip falsies and use two coats of mascara plus the drawn lower lashes from Tip 4. You still get the look.
Tip 6: Place blush high and across the nose
Blush is the quickest way to make a face look kawaii. Instead of sweeping it along your cheekbones for sculpting, put it on the apples of your cheeks and blend upward toward your temples. Then tap a little across the bridge of your nose, like a soft flush from being outside on a cold day.
Cream blush goes on first, right over your base. Press it in with your fingers. If you want it to last longer, add a light dusting of powder blush on top in the same color family.
Shade matters. Soft pink, rose and peach read as sweet on most people. On fair skin, pick a gentle pink so it doesn't turn patchy. On medium and deep skin, try warm rose, berry-pink or apricot, which show up clearly without going gray. Build slowly. You can always add another tap, but taking blush off means starting over.
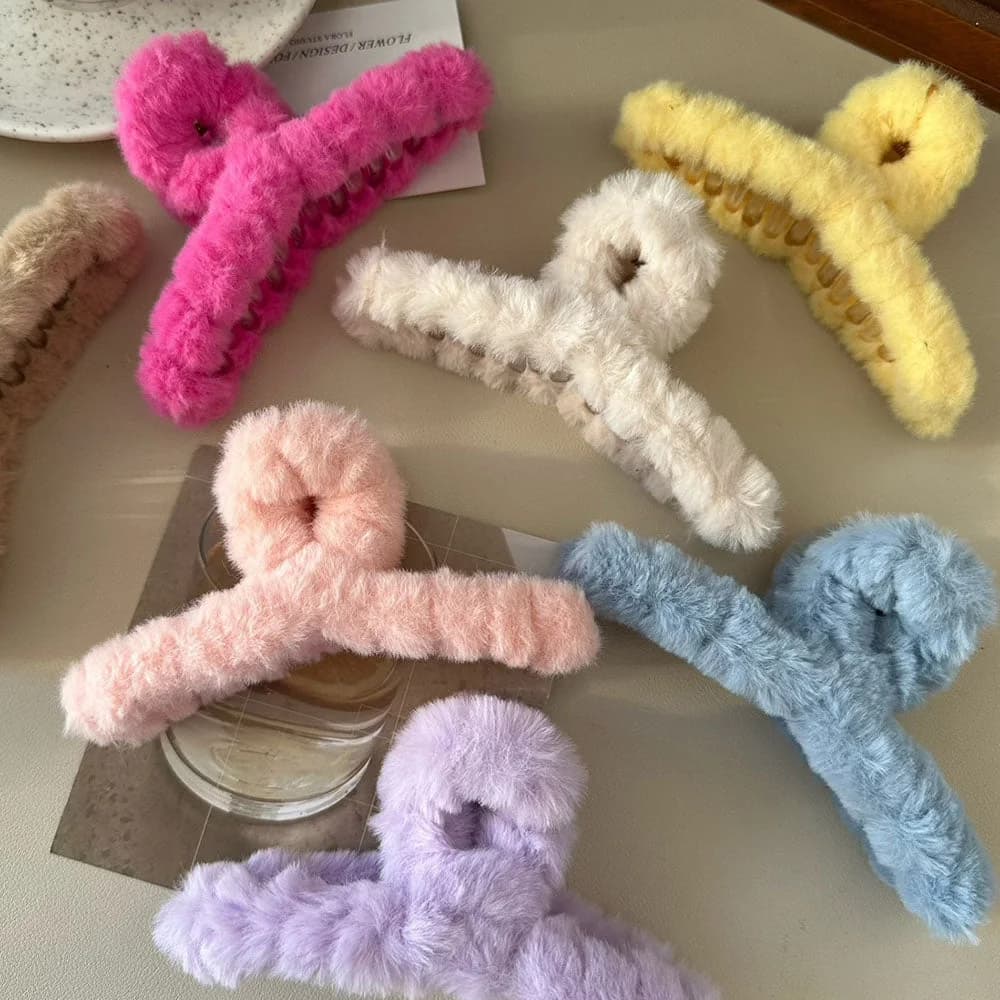
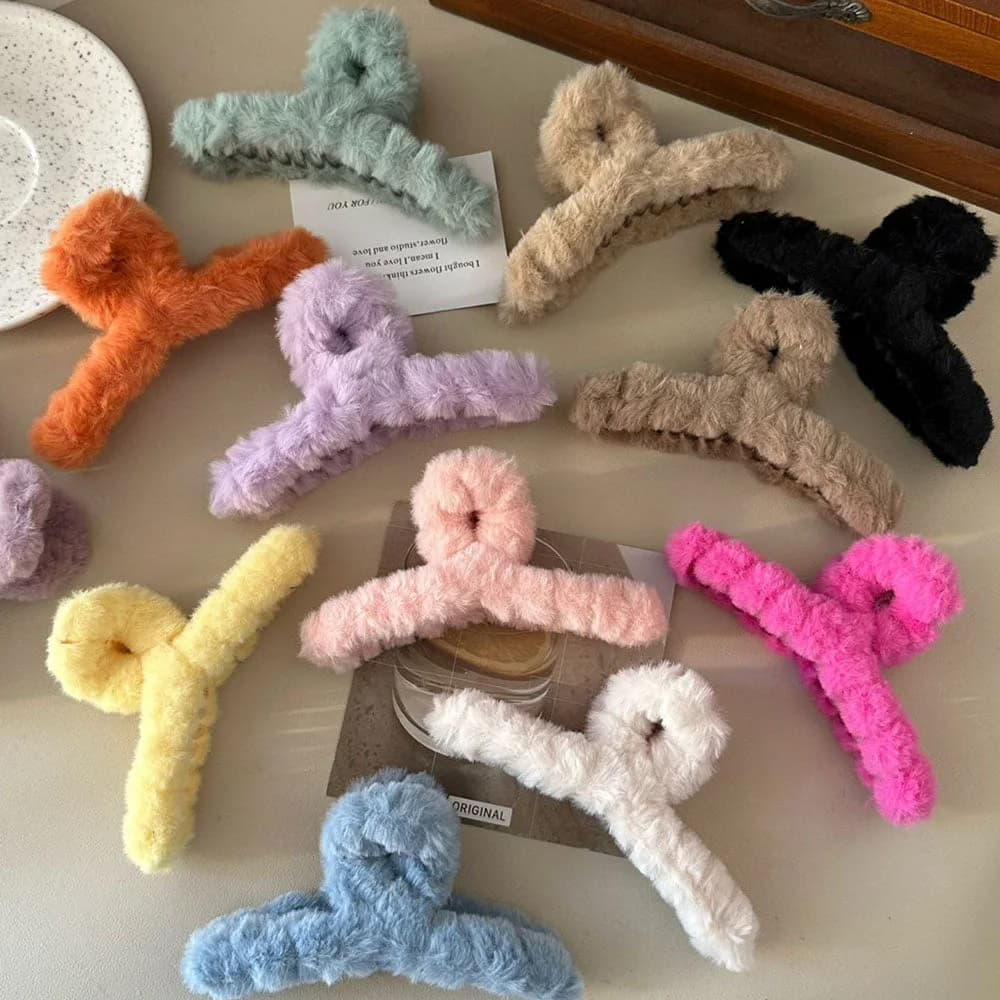
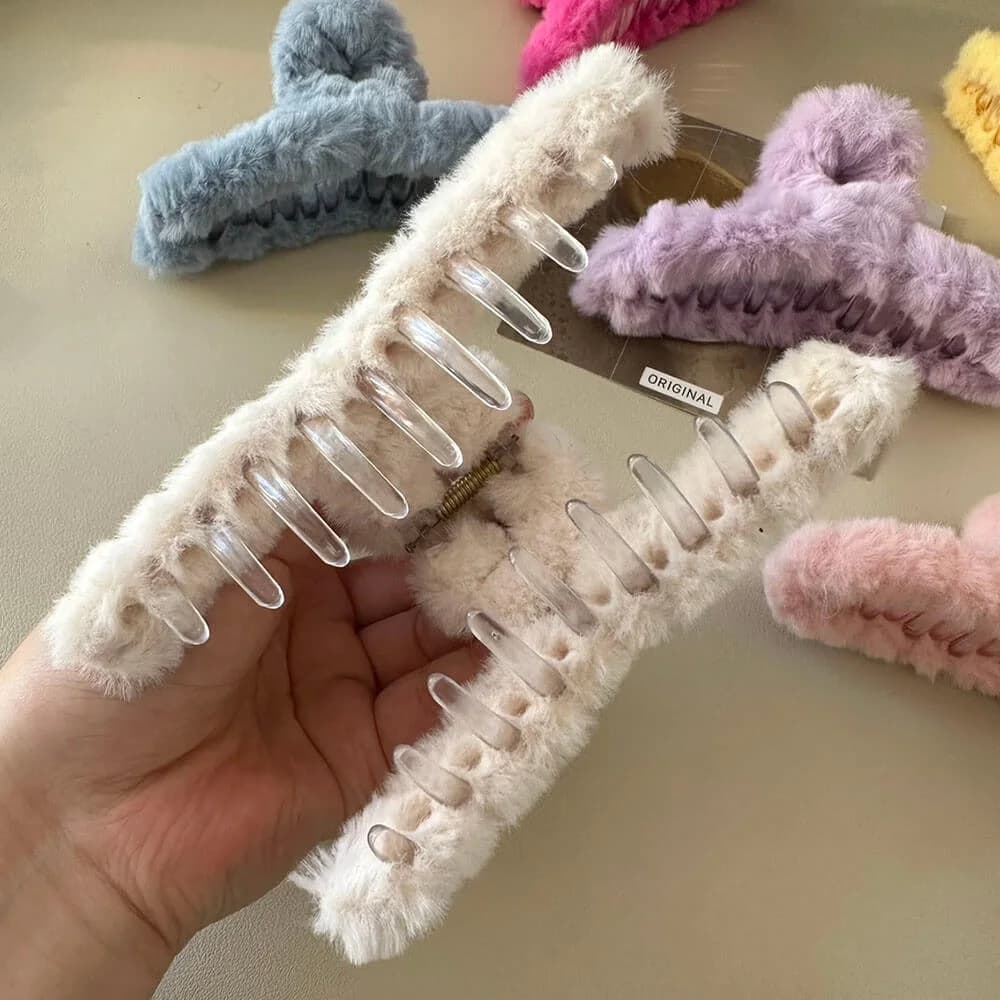
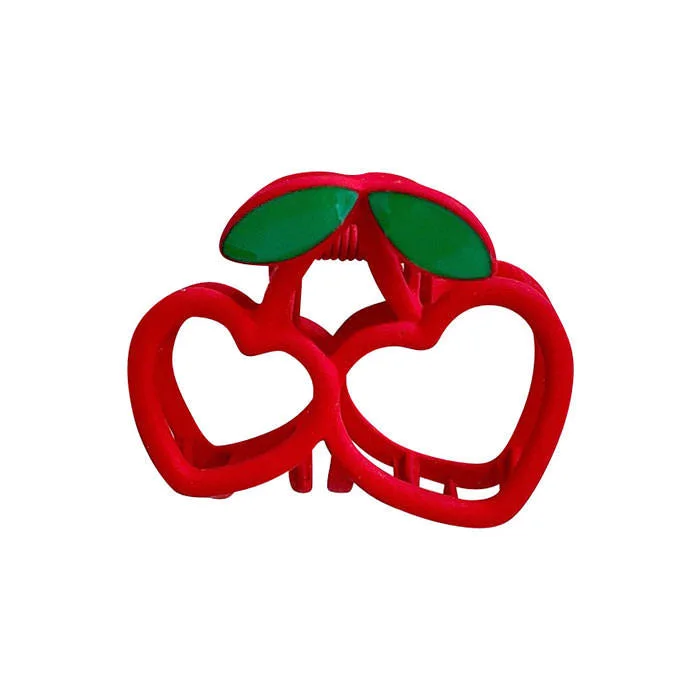
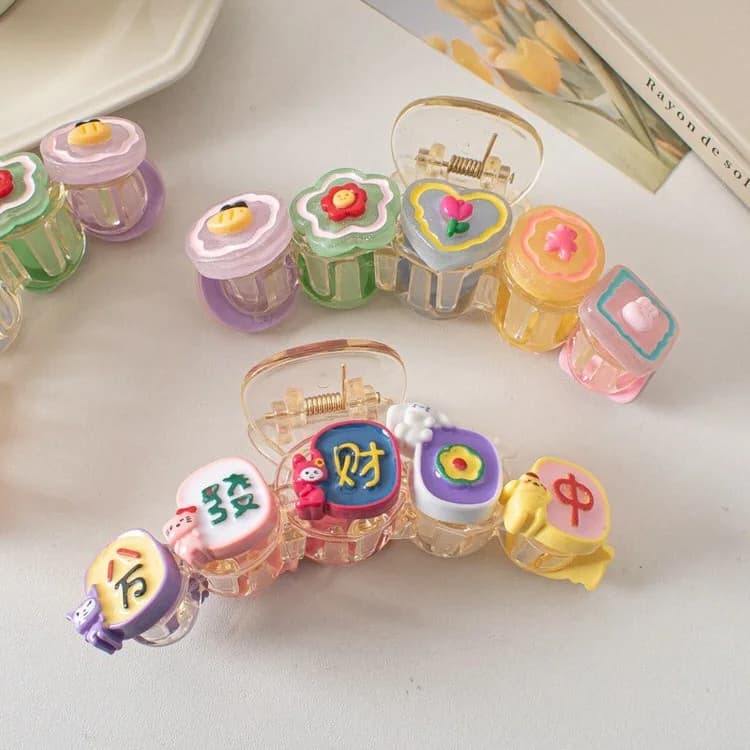
Placing blush high on the cheekbones and over the nose directs attention toward the center of your face. If you sweep your hair back to highlight your cheeks, you might choose the Soft Girl Plush Hair Claw. It comes in one size and colors like Light Pink, Mint Green, and Purple, making it easy to echo the shade of your blush.
Tip 7: Tint, blur and gloss your lips
For lips, you want a sheer pop of pink, not a hard outline. The easiest method is a gradient. Dab a tint or cream color onto the center of your lips, press them together, then blur outward with your fingertip. The edges stay soft and the center looks juicy.
Add a clear or lightly tinted gloss on the middle of your bottom lip, and a touch on the top. Don't stretch it past your natural lip line. You don't need to shrink or reshape your mouth to make this work. Your lips are fine as they are.
Shades to try: baby pink, peach, cherry tint, watermelon, rosy brown and a pink-leaning plum if you want a bit of goth in your cute. Pick a color that sits close to your natural lip color, then go brighter or deeper depending on the mood. If you eat or drink a lot, a stain or tint holds up better than a thick lipstick.
Tip 8: Add highlight and sparkle in small doses
Highlighter is the finishing touch, so keep it small. Tap a little on the inner corners of your eyes, the tops of your cheekbones, the tip of your nose and your cupid's bow. A cream or liquid highlighter looks more natural than a chunky powder. Use a small brush or cotton swab for the inner corners.
If you like glitter, try a tiny dot in the center of each lid or a line along the lower lash line. Rhinestones can go at the outer corner of your eye, on your cheekbone or in a small row beneath your lower lashes. Use an adhesive made for skin, and put gems where they won't poke your eye or catch on your hair.
One rule keeps it cute: pick one sparkle spot. Glitter lids, gem cheeks and a glowing nose all at once can feel like too much. Choose the one you'll enjoy seeing in the mirror.
Tip 9: Match your makeup to what you're wearing
Makeup looks best when it matches the mood of your outfit and the weather. Here are a few combinations that work.
Warm, sunny day: a Kawaii Heart Striped T-Shirt with baggy denim shorts and chunky kawaii sneakers. The tee is listed in M to XXL, so check the size chart against a shirt you already love. For makeup, keep it light and sweat-friendly: cream blush, waterproof mascara, a tinted gloss and one small sparkle at the inner corners. Skip heavy powder.
Cool or rainy day: a Kawaii Frog Hoodie, listed in S to XL, over a black skirt with tights and boots, plus a slouchy kawaii beanie. Hoodies and hats touch your face and hair, so go for long-wearing liner and a stain-style lip that won't rub off on a collar. Pull the beanie on gently over your forehead so it doesn't drag your base.
Low-effort comfort day: an oversized tee, soft leggings and your most worn-in sneakers. Do only blush, mascara and gloss. It's still kawaii, and nothing feels fussy.
Full Harajuku mood: layer colors, patterns and accessories from the Harajuku & Kawaii collection, and let your face match that energy with colored liner, gems and bolder blush. When your outfit is busy, keep the base extra light so the whole look doesn't compete with itself.
On fit: a listed size is a starting point, not a promise. Compare the size chart to a garment you own, and if you're between sizes, think about how you like to wear it. Roomy for a skate-style slouch, closer for a neat layer.
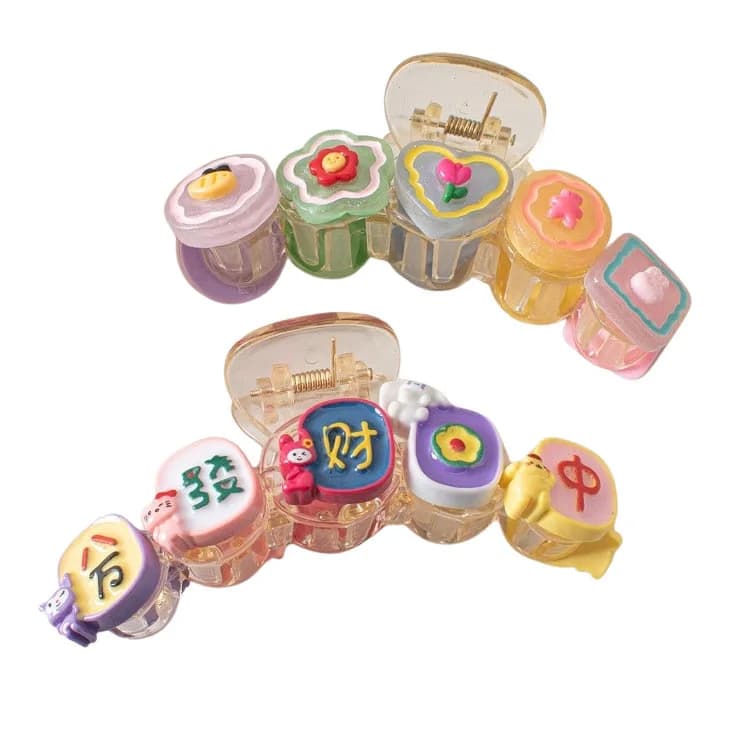
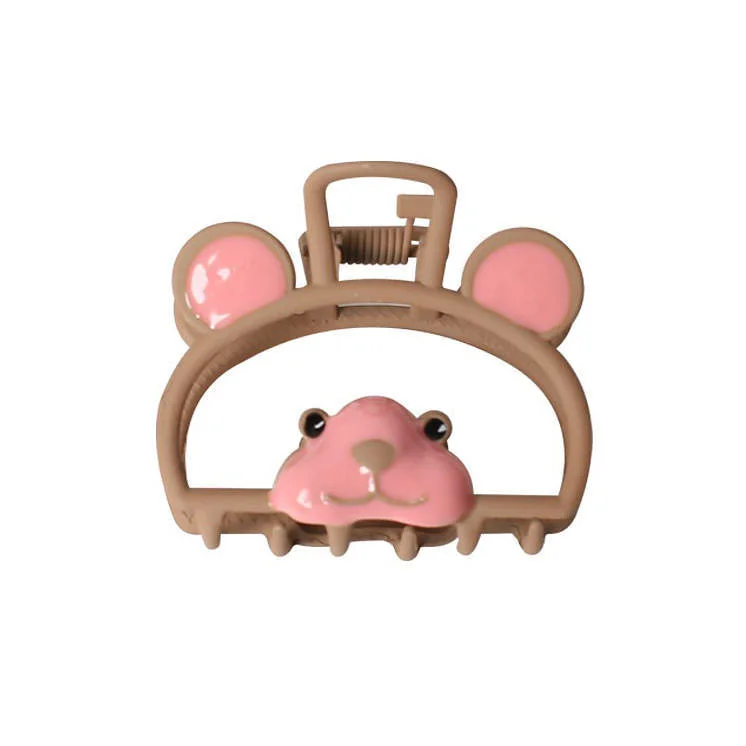
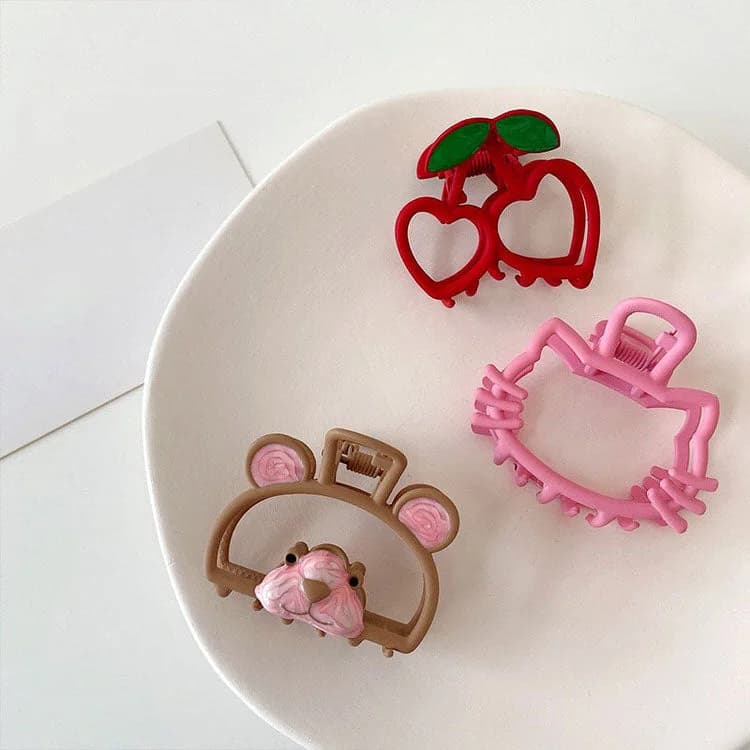
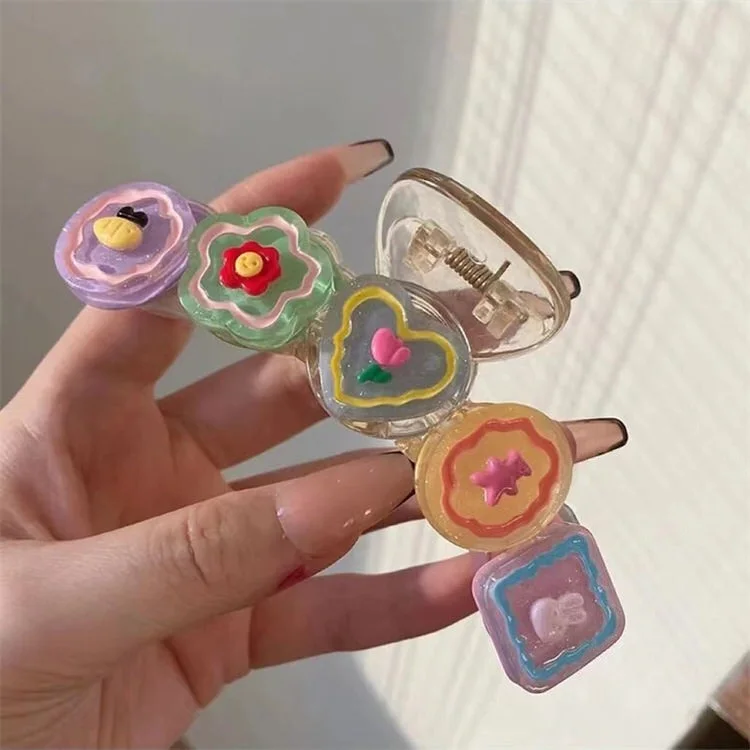
Coordinating your beauty look with your outfit helps your whole look feel deliberate. If you wear berry lip tones, you can echo that theme by styling a twist with the Kawaii Hair Claw in the Cherry option, or choose the Bear or Cat designs. For a sweeter motif, consider sliding on the pink Sweet Strawberry & Star Hair Clip.

Tip 10: Pack a small touch-up kit
Soft, creamy makeup moves around during the day, so a mini kit saves the look. Pack a cream blush or stick, your lip tint, a clear gloss, blotting papers, cotton swabs for smudges, a fine liner and a small mirror. That's enough for a quick fix between class, work and dinner.
Keep it all in one pouch so you're not digging around. The Grunge Makeup Bag and the Kiss Makeup Bag both come in one size, which means you should lay out your own kit first and see if it fits. Don't guess. If your kit is small, a pouch will do. If you're carrying a full palette and brushes, a bigger bag will be easier. At home, the Art Hoe Makeup Holder can keep your daily picks in one spot on your dresser.
When you're out, a roomy tote, one of the kawaii backpacks or a pouch tucked into your usual bag all work. A few extra kawaii accessories, like clips or a mirror charm, help you finish your hair when you fix your face.
Alongside your lip gloss and powder compact, keep a quick hair option in your pouch for mid-day fixes. The Polka Dot Scrunchie comes in shades like Pink, Purple, and Green, taking up very little space. It allows you to pull your hair into a ponytail while you reapply powder, so your hair stays away from fresh lip products.

Mistakes that make kawaii makeup go wrong
Too many layers on the base. A heavy foundation with powder on top fights the fresh look and creases around the eyes. Keep it thin and add only where needed.
Blending too little. Pastels look pretty when edges melt together. Harsh patches of pink or blue look more like a mistake than a choice. Keep a clean brush handy to soften edges.
Wrong lash size. Strips that are too long or too thick drag on your lids and lift at the corners. Measure, trim and pick a lighter style if you're uncomfortable.
Copying someone else's face. A look that shrinks the nose, lips or jaw on someone else may not suit you, and you don't have to change your features to be cute. Place color where it flatters you.
Ignoring comfort. If your eyes feel itchy, your lashes feel heavy or a product bothers your skin, take it off. Cute shouldn't hurt.
Everything at full volume. If you have bold liner, glitter, gems and bright lips all together, nothing stands out. Go back to Tip 1 and choose a star.
Quick answers
A few things people often ask before they start.
- Do I need special products? No. Most drugstore or department-store pastels, cream blushes, lip tints and mascaras work. Focus on texture and placement instead of price.
- Is kawaii makeup only for certain people? No. Anyone can wear it. Adjust shades for your skin tone and placement for your eye shape.
- How do I do it in five minutes? Thin base, cream blush on the apples and nose, mascara, tinted gloss. Done.
- What if I wear glasses? Keep shadow shimmery or soft so it doesn't get lost, and try lower-lash lines, since frames tend to frame the top of the eye. Check that glitter isn't getting trapped on your lenses.
- How do I stop liner from smudging? Let each layer set for a moment, blot oil from your lids before you start, and use a waterproof or long-wear formula on days you're out for hours.
- Can I mix it with grunge or punk style? Definitely. Try pink blush and pastel liner with a black hoodie, chains and boots, or a plum-pink lip with ripped tights. The contrast is the fun part.