
Created by the Kawaii Vibe editorial team. Our named style desks are editorial personas. Product details and availability can change.
Here's the short answer. Visual kei hair is about shape and contrast. You build height at the crown, add texture with teasing, and keep other sections sleek. Then you lock it with strong hold. Start with clean, fully dry hair, tease the roots, shape the pieces with a comb and fingers, and spray in layers.
It's a look you can make as dramatic or as wearable as you like. Some people go for sharp, spiky layers. Others go for a soft, messy halo with a few long face-framing strands. Both are valid. The trick is choosing the version that suits your hair type, your patience and your plans for the day.
This guide covers prep, tools, two styling routes, color choices, accessories and outfit pairing. It also covers weather, fit, mistakes and quick answers. Your hair is the starting point, so we'll build everything else around it.
The fast answer: the three-part formula
Almost every visual kei hairstyle uses the same three moves. First, lift: you create volume at the roots and crown. Second, texture: you tease and separate sections so they look chunky, layered or jagged. Third, contrast: you keep some strands smooth and straight so the shape reads clearly.
If you remember only that, you can improvise. A short bob can get lifted roots and a few pieces flicked outward. Long hair can get a teased crown and sleek lengths. Shoulder-length hair can do both. The look isn't one fixed cut. It's a way of arranging what you have.
Plan on more time than a normal hair day. A first attempt can take a good while, and that's fine. Do your first try the day before an event so you can adjust without stress.
Pick your version before you pick your products
Decide how extreme you want to go. This saves money and stops you from buying tools you won't use.
A soft version has a teased crown, loose layers and a few curved pieces near the face. It works well with fine or wavy hair because you aren't fighting your natural texture. A sharper version has defined spikes, stronger lift and very straight lengths. It works best with hair that holds a shape, or with hair you're willing to prep heavily.
Find two or three reference photos from different angles. Front views can fool you. You need to see how the back and sides sit, because most of the shape comes from there. Then decide which parts you'll copy and which you'll skip. Copying everything isn't the goal.
Your basic toolkit
You don't need a huge kit. A few good items do most of the work, and you may own several already.
Check the labels before you buy. Strong-hold products vary a lot, and you want something you can brush out later.
- A fine-tooth teasing comb or rat-tail comb for roots and for parting small sections
- A flat iron for smoothing the lengths that should stay sleek
- A strong-hold hairspray, plus a lighter flexible one for finishing
- A texturizing spray, wax or paste for separating pieces
- Sectioning clips so loose hair stays out of the way
- Bobby pins in a color close to your hair
- A wide-tooth comb and a conditioner for removal day
Step-by-step: building volume and spikes
Start with clean, completely dry hair. Slightly gritty hair holds better than slippery, freshly conditioned hair. If yours is very soft, a little texturizing spray at the roots helps.
Split your hair into sections with clips. Begin with the crown. Take a section about two fingers wide, lift it straight up and comb downward from the middle toward the root. Do this a few times until it stands up by itself. Smooth the top layer lightly so it looks neat, not frizzy.
For the pointed pieces, take a small piece of hair, twist it a little and add a bit of wax or paste. Pinch it to a point and hold it for a few seconds. Spray from a short distance. Angle each piece in a slightly different direction. That mix of angles gives the look its energy.
Work from the back to the front. The pieces around your face are the ones people notice first, so save them for last. If a piece collapses, don't add more product straight away. Comb it out, tease again and rebuild it. Piling spray on top just gets you a crunchy, heavy piece that still droops.
Sleek sections and the contrast trick
Straight, smooth hair next to teased hair is what makes the volume look intentional. Without it, you can end up with a general mess. Flat-iron the lengths you want sleek in small sections, working slowly from root to tip.
Use a heat protectant. Apply your texture products to the volume areas only, and keep them away from the sleek strands. Product on the smooth parts dulls the shine and weighs them down.
Long face-framing pieces are a nice detail. Leave one or two longer strands on each side and straighten them well. They soften the sharper shape and make the style easier to wear in daily life. If you've got bangs, a blunt or slightly choppy fringe works well with this style.
When balancing straight fringe sections against heavy teasing, simple chest graphics keep your visual lines clear. The Grunge Skeleton Heart Print T-Shirt in Dark Grey or Orange provides a focused print that lets sleek face-framing hair strands remain distinct. You can compare chest measurements against its size chart to decide between a closer or looser drape.
Color choices that make the shape pop
Color shows off the structure. Dark hair makes spikes and sharp edges look graphic. Lighter shades make layers and texture easier to see. Contrast pieces, like a lighter streak against dark hair, add depth without changing everything.
Lightening hair can be hard on it, so think about your hair's condition first. If you're not ready for that, there are other options. Clip-in pieces, temporary color products and wigs let you try a shade without committing. Do a patch test with any new product, and ask a professional colorist if you're unsure.
Pick a color that works with your wardrobe. If most of your clothes are black, grey and deep red, a cool-toned or dark shade will sit comfortably. If you like pastel pieces, softer colors will match them better.
Accessories that add detail without wrecking the hold
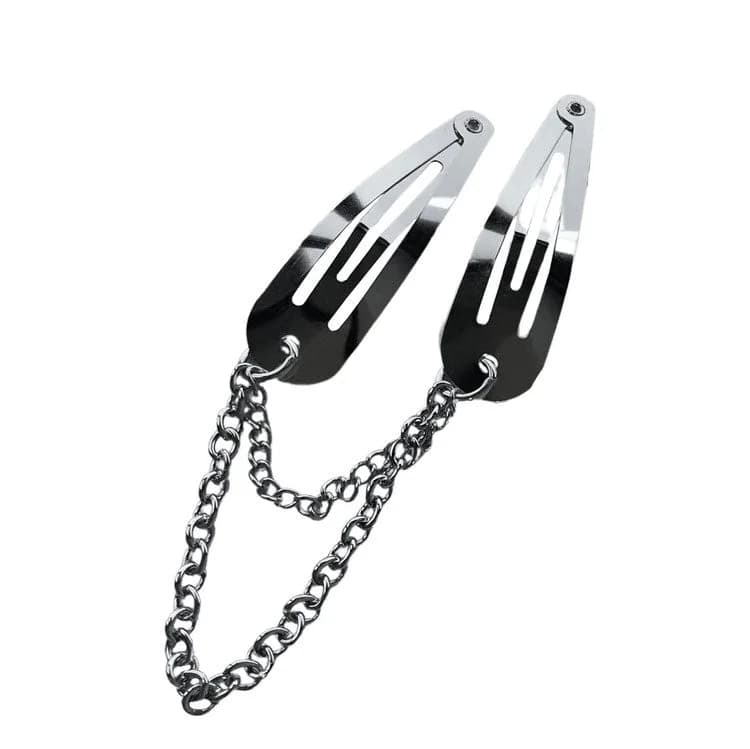
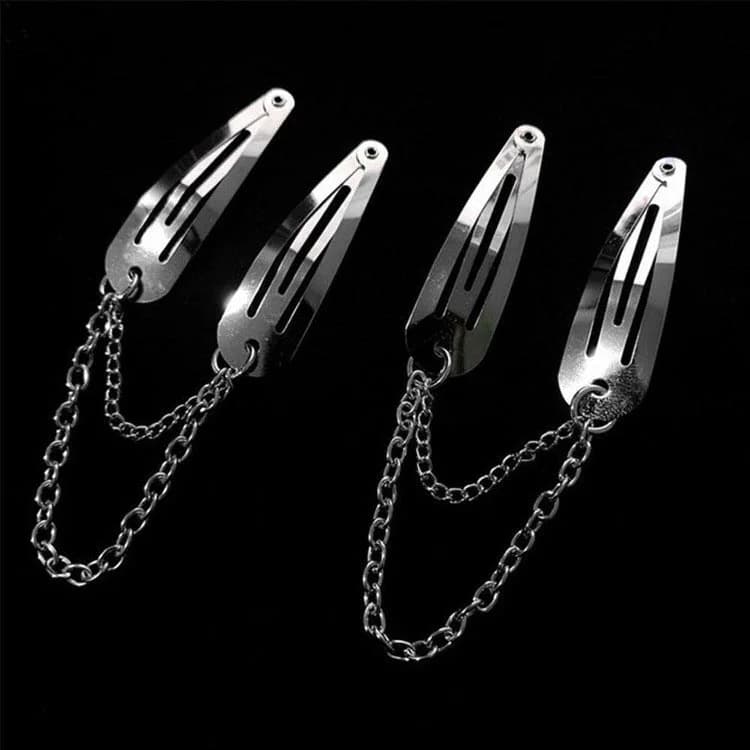
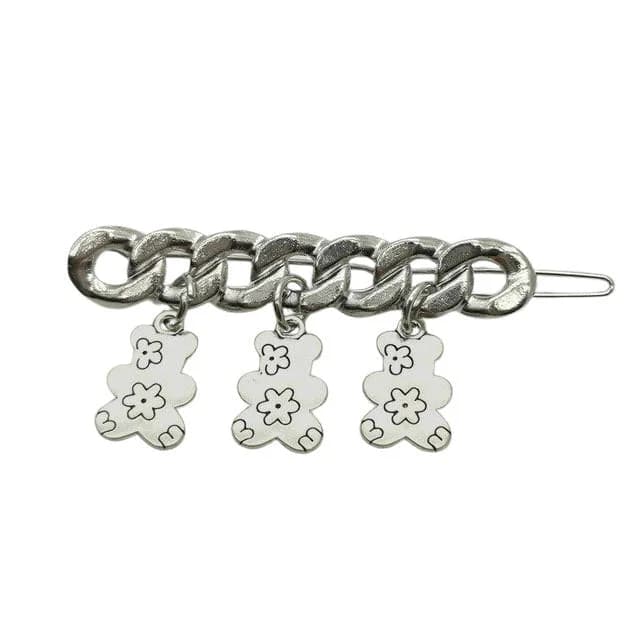
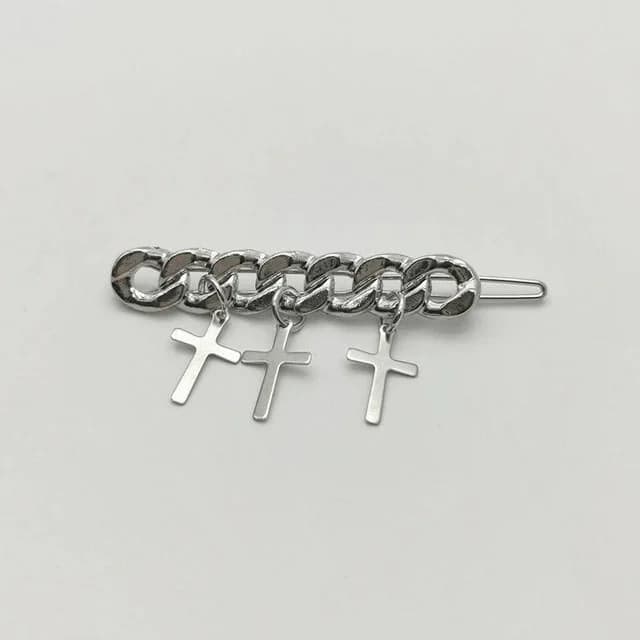
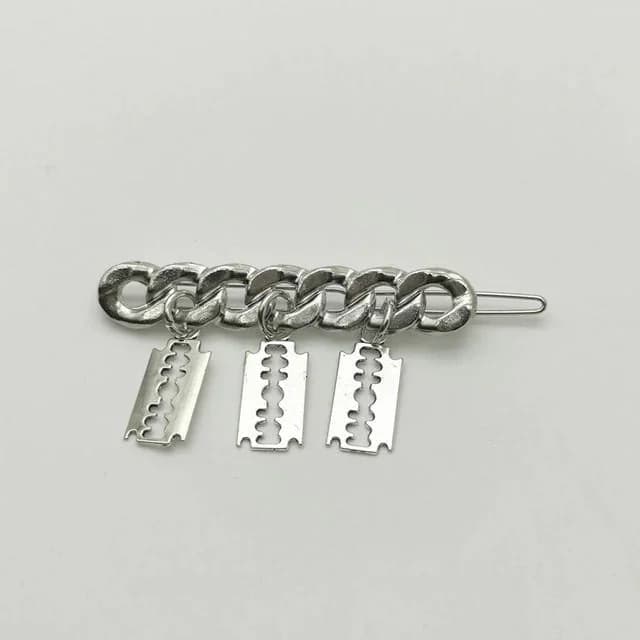
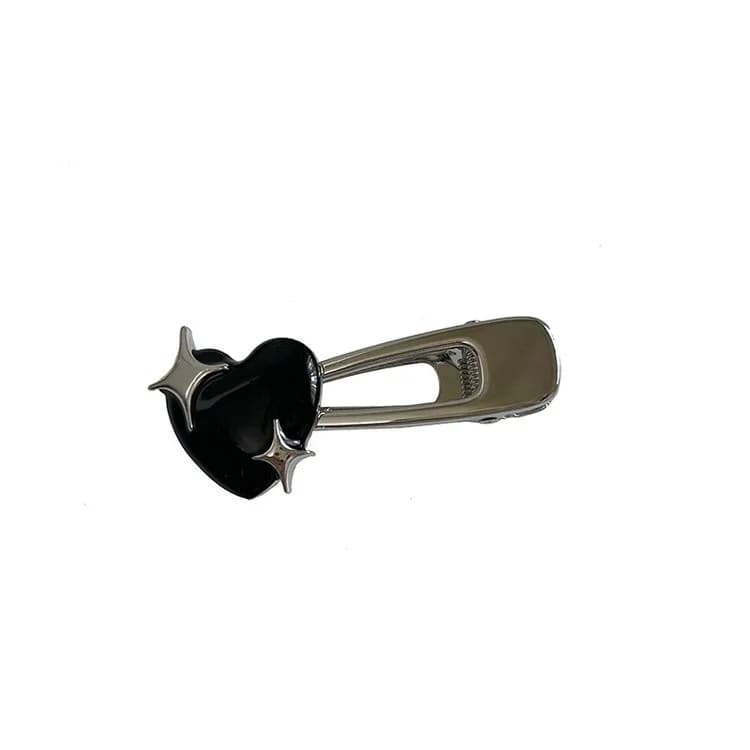
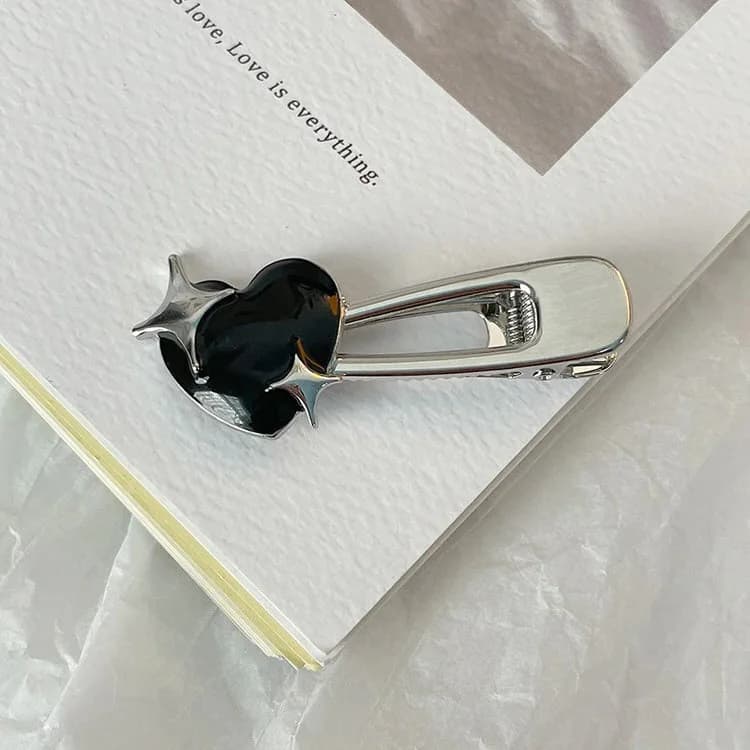
Accessories can fix problem spots and add personality. Use them to anchor loose pieces or to finish the style. Keep them light, because heavy items will pull on teased hair.
Small pins work well on the sides and fringe. The Angel Wings Rhinestone Hair Pins come as a set of two, so you can put one on each side for a balanced look. For a softer, sweeter touch, the Daisy Flower Hair Pins or Mermaid Hair Pins can sit against sleek sections where they're easy to see.
If you want to pin up the back or half your hair, a claw can hold more. The Iridescent Fish Bone Hair Claw and the Bimbo Fawn Hair Claw both come in one size. Place a claw under the teased crown, not on top, so you don't flatten your volume. You can browse more in aesthetic hair accessories or the hair pins and scrunchies collection.
Outfit combinations that suit the hair
Big hair needs balance. If your hair is the loudest part of the look, keep the rest clear and structured. Here are a few combinations.
Dark and structured: a fitted black top, a long jacket and straight trousers. The narrow lower half lets the volume on top take center stage. Browse dark academia for tailored pieces in this mood.
Soft and sweet: a pastel knit or tee, a pleated skirt and chunky boots. Add flower pins to sleek sections. The pastel goth and soft girl collections are good places to look for the color mix.
Casual and playful: the You Complete Me Avocado T-Shirt with dark jeans and a layered chain. It comes in S to XXL. The graphic tee keeps the outfit relaxed so the hair feels fun, not like a costume.
Street and bold: oversized layers, wide-leg pants and platform shoes. Harajuku and kawaii pieces suit this well. If you want a broader range, see aesthetic clothing.
A good rule: pick one loud element per area. If the hair is big, keep the neckline simple. If your top is busy, make the hair a bit calmer.
Pairing high-volume hair with two-tone patterns creates a cohesive overall look. The Black and White Pants offer split coloring that mirrors split dye or contrasting black hair pieces. You can pair them with items from the wider visual kei clothes collection, balancing wide hemlines against sculpted spikes up top.
Weather and comfort planning
Humidity is the biggest enemy. Moist air softens teased hair and makes spikes droop. On damp days, use a stronger finishing spray, keep your style shorter or sleeker, and carry a few pins for repairs.
Rain needs a plan. An umbrella is better than a hood, because hoods crush volume. If you must wear a hood, choose a wide, loose one and don't pull the drawstring.
In heat, avoid piling on product at the roots, since sweat can break it down. Pull the lengths into a high tail or loop, and keep the teased crown. A layered, breathable top is better than a thick jacket.
In cold weather, hats flatten everything. If you want a hat, the Bad Hair Day Cap is one size and can go on before or after styling. Put it on gently, then fluff the roots when you take it off. Scarves can drag on the back of your hair, so wear them loose.
If you want comfort, choose a lower-effort version: soft crown lift, no hard spikes and fewer pins. Your scalp shouldn't hurt. If a pin or claw pulls, move it.
When planning your outfit around the weather, pick tops that do not pull tight against your head when you change layers. The Purple & Black Striped Lightweight Knit Hoodie features a purple and black pattern with an attached hood you can rest lightly over styled hair. Check the provided size chart before selecting your size.

Fit and measurement guidance
Hair accessories are mostly one size, so think about your hair length and thickness instead. Thick hair needs claws with a wider opening. Fine or short hair does better with small pins that grip a small section.
Check product details before you buy, and compare them with your own hair. Hold a ruler against your hair to see how wide a section is. Use that to decide whether a pin will cover it. Fit can vary, so don't assume any accessory will fit every hairstyle.
For clothes, think about proportion. Big hair makes your head look larger, so a slightly structured shoulder or a longer top can even things out. If you're buying tees, check the size chart and measure a top you already like. Compare chest width and length. When you're between sizes, think about how you like to layer.

Common mistakes and how to fix them
Starting with damp hair is one. Moisture weakens hold, so dry fully first. Using too much product at once is another. Add it in thin layers instead.
Teasing too close to the ends causes knots. Tease from mid-length toward the roots, not the tips. Skipping heat protectant is a quick way to dry out your hair. Don't skip it.
Going to bed with the style in is a common one. Brush it out first or you'll face tangles. Start at the ends with a wide-tooth comb, work upward, and use conditioner to loosen stiff product. Take your time. Ripping through it will cause breakage.
Finally, copying a photo exactly can frustrate you. Different hair behaves differently. Adjust the shape until it feels right for you.
FAQs
Can I do this with short hair? Yes. Focus on lift at the crown and textured pieces at the front and sides. You won't get long sleek lengths, but you can still get the shape.
Do I need dyed hair? No. Shape matters more than color. Temporary options or accessories can add contrast.
How long does it last? It depends on your hair, the weather and your products. Carry pins and a small comb for fixes.
Is it bad for my hair? Heavy teasing, heat and strong products can be rough on hair. Use protection, remove the style gently and give your hair breaks. If you have scalp or hair concerns, ask a professional.
What if I can't get spikes? Go for a messy, textured crown with soft pieces. It still reads as the same style, just gentler.
A 15-minute test run before your big day
The article suggests practicing the day before. Here is a simple way to use that practice time so you learn something from it instead of just getting frustrated.
Set a timer and split the session into three blocks. Spend the first five minutes on the crown only: tease, smooth the top layer, and spray. Spend the next five on the front pieces around your face. Spend the last five on the sleek lengths. When the timer ends, stop and take photos from the front, side and back. Photos show problems your mirror hides, like a flat patch at the back or a spike pointing the wrong way.
Then wait an hour and check again. Note what drooped, what got crunchy and what still looks good. Next time, change only one thing, such as adding a light spray between layers or making the sections smaller. Changing one thing at a time tells you what actually helped.
Which outfit goes with which hair version
Your hair choice should steer your clothes, not the other way around. Use these pairings as starting points and swap in pieces you already own.
Soft crown lift with a few face-framing strands: a plain tee or knit, high-waisted jeans or a skirt, and sneakers. Add one small pin on the side. This is the easiest option for work, class or errands.
Messy halo with texture: a slip dress or simple top under an open cardigan, plus boots. Keep jewelry small so the hair stays the main focus.
Sharp spikes and sleek lengths: all-dark layers, such as a fitted top, a long coat and straight pants. A clean neckline matters here, because a high collar or scarf can push into the back of the style.
Tied-up back with a teased crown: a wide neckline or open collar shows off the shape. Avoid thick hoods and bulky scarves.
If you aren't sure, try this quick test. Stand in front of a mirror and squint. You should see one clear focal point. If your eye jumps between hair, top and shoes, remove one busy item.
A softer teased crown pairs naturally with distressed casual garments. You could try wearing the white Grunge Sleaze Distressed Kiss Dress layered over items from the visual kei tights collection to distribute detail between your hair and your legs. Its garment size chart covers sizes S through L for comparing fit.

Decision checklist before you leave the house
Run through these questions in the last few minutes. They take under a minute and can save you from a bad hair moment halfway through the day.
Is my hair completely dry at the roots? Damp roots are the top reason lift collapses.
Did I spray in thin layers and let each one settle, instead of one heavy blast?
Can I turn my head, sit down and lean back without a pin pulling? If something tugs, move it now.
Is the weather going to fight me? If it is humid or rainy, pack an umbrella, a few bobby pins and a small comb.
Does my outfit work with a bag strap, jacket or scarf? Try them on over the style before you go, so you don't crush the volume at the door.
Do I have a plan for tonight? Decide whether you will brush out right away or let the style rest for a bit. Either way, set out your wide-tooth comb and conditioner so removal is easy.
If you answer no to more than two, simplify. Drop the spikes, keep the crown lift and reduce the pins. A calmer version that stays put looks better than a dramatic one that falls apart by lunchtime.
Quick fixes for mid-day problems
Even a well-built style needs small repairs. Keep a tiny kit in your bag: a few bobby pins, a travel-size flexible hairspray and a small comb.
If the crown goes flat, lift a section with the comb tip at the root, then give it a short spray underneath. Don't spray on top. If a spike droops, twist it between your fingers and pinch it back into shape, then use a little spray from a short distance. If the sleek sections get frizzy, smooth them with your palm and pin a stray piece behind your ear.
Do repairs in a mirror you trust, such as a bathroom or your phone camera, so you can see the back. If it still looks off, pull the side pieces back with a pin and keep the volume on top. That simple shape looks intentional and gives you a break from fiddling.


