Created by the Kawaii Vibe editorial team. Our named style desks are editorial personas. Product details and availability can change.
A kawaii bento is a lunchbox where the food has a face, a shape or a little scene. It sounds like it needs special skill, but most of the work is arranging. If you can cook rice, slice vegetables and pack a container, you can make one.
This guide assumes you will use ingredients that are already cooked and ready, or that need no cooking at all. It does not cover cooking raw meat or eggs. Instead it focuses on the part that makes a bento cute: planning the box, shaping the rice, adding faces, cutting vegetables, keeping wet foods apart and filling every gap.
You will find three full lunchbox examples near the end. The portions are loose suggestions, not nutrition advice. Adjust them to your appetite and your box.
Start With the Box, Not the Food
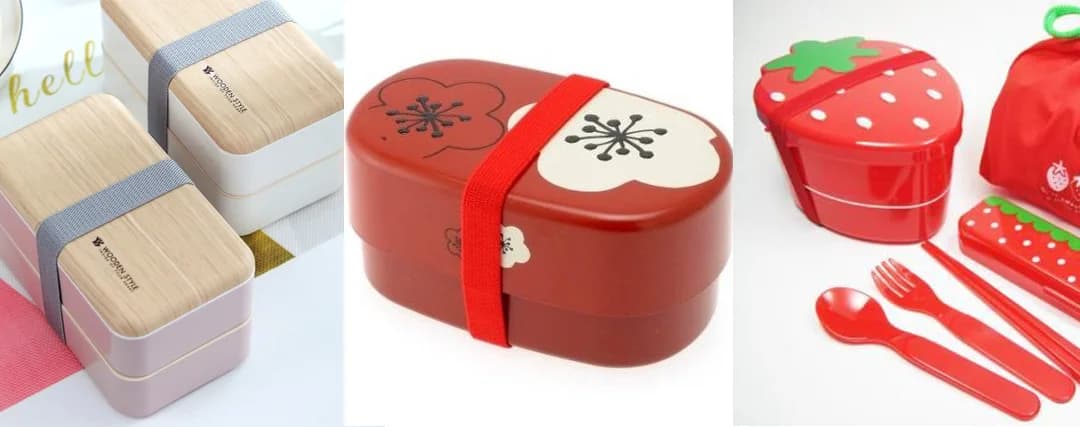
The container decides almost everything, so choose it first. A box with a tight lid and a few small compartments is easier for a beginner than one big open space. Compartments stop foods from sliding into each other, and they give each item a clear frame, which makes a small cute shape look intentional.
Pick a box that holds the amount you normally eat. A box that is too large leaves gaps that need a lot of filler. A box that is too small forces you to squash your rice character. If you are unsure, fill the empty box with water once, pour it into a measuring cup and compare it with a container you already use for lunch.
Check that the box and lid are labeled food safe, and that the lid closes fully. Wash everything before packing. Silicone dividers, small cups and reusable picks can all work, as long as they are made for food and are clean and dry.
- Choose a box with a snug, leak-resistant lid if any sauce is involved.
- Look for removable dividers so you can change the layout.
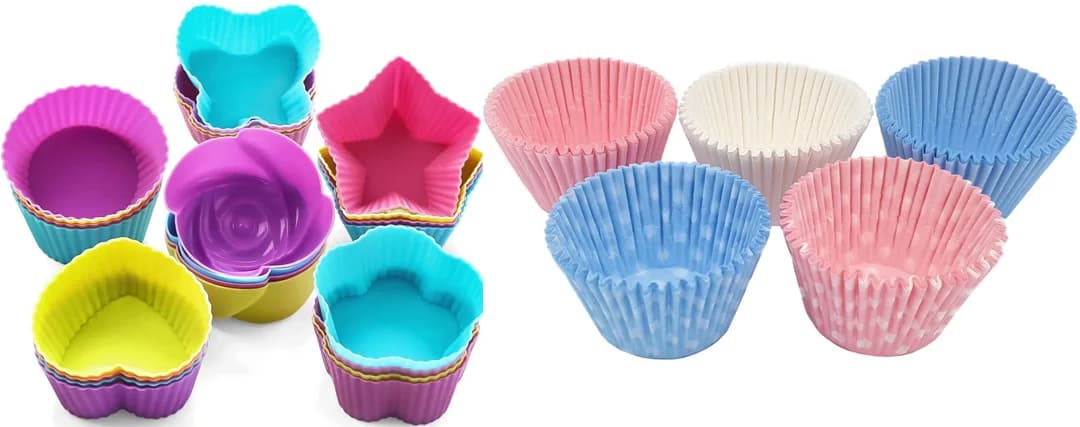
- Keep two or three small cups on hand for dips and wet items.
- Use only food-safe tools for shaping and cutting, and keep them just for the kitchen.
The Small Toolkit That Does the Most
You do not need a drawer of gadgets. A few simple tools cover nearly every design in this guide, and most are probably already in your kitchen.
The most useful tool is a sharp small knife and a clean cutting board. Next is a pair of kitchen scissors, which are better than a knife for nori because they give you control on tiny pieces. Tweezers made for food help you place small details. A straw, in a couple of sizes, punches perfect circles from carrot and cucumber slices. Small cookie cutters work for flowers, stars and hearts.
For rice, plastic wrap or a clean food-safe sheet lets you shape it without sticky hands. A bowl of water nearby helps too, because slightly damp fingers keep rice from clinging.
- Small sharp knife and cutting board
- Kitchen scissors reserved for food
- Food-safe tweezers
- Drinking straws in two widths for dots and circles
- Mini cutters for flowers and stars
- Plastic wrap or a clean sheet for shaping rice
Shaping Rice Into Cute Forms
Rice is the canvas of most kawaii bento, so it is worth learning three basic shapes. Use rice that is already cooked and cooled enough to handle comfortably. Warm rice sticks together better, but it should not be hot against your hands.
The round ball is the easiest. Lay a square of plastic wrap in your palm, add a scoop of rice, gather the corners and twist gently. Press and rotate until it is smooth. A ball can become a panda, a chick, a ghost or a snowman with only small additions.
The triangle is shaped by cupping your hand into a shallow V. Press the rice with the other hand, turning it as you go to form three flat sides. A triangle becomes a mountain, a cat or a fox once you add ears.
The oval is a ball you gently elongate. It becomes a bunny, a bear body or a small seal.
Ears are made from small flattened pieces of rice pressed onto the head, or from cut vegetable shapes tucked into a light slit. Keep every shape compact. Tall, thin rice figures tend to tip over once the lid is closed.
Nori Faces and Tiny Details
Nori, the dried seaweed sheet, is what gives rice its personality. It cuts easily with scissors and sticks lightly to rice, especially if the rice is a little moist.
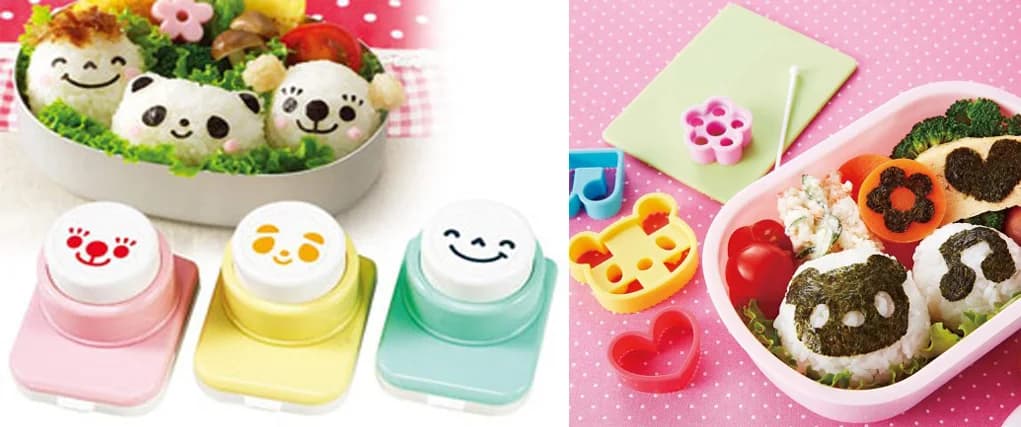
For simple eyes, cut two small circles or ovals. A straw-sized hole punch for paper can also work if it is only used for food. For a mouth, cut a tiny curve. Keep the features low and wide apart on the face, which reads as cuter than features set high and close together.
Place details with tweezers, starting with the eyes. If a face looks wrong, lift the pieces and try again before adding cheeks. Cheeks can be a dab of ketchup, a thin slice of pink fish cake or a small round of carrot or ham cut with a straw.
Nori softens if it touches moisture, so add faces last, close to the time you pack the box. If you must assemble ahead, press the face on and keep it away from wet items.
- Eyes: two small dots, set wide apart
- Mouth: a small curve or a tiny dot
- Cheeks: pink or orange rounds below the eyes
- Whiskers: thin nori strips on a cat or mouse
- Hair or fur: a nori strip across the top of a rice ball
Carrot and Cucumber Cutouts
Carrot and cucumber add color and structure. Use them cooked or raw according to how you normally prepare them, and have them ready before you start decorating.
For flowers, cut a carrot into rounds and press a small cutter into each. For stars, use a mini star cutter on cooked carrot slices. For leaves, cut a cucumber slice in half, then make small angled cuts along the curved edge. For little ladybug dots, punch circles from nori and place them on a tomato half.
A cucumber can also become a cup. Cut a short section, scoop out some of the center, and use the hollow to hold a small dip or a few corn kernels. It holds small items and adds green at the same time.
Save the leftover scraps. Offcuts make good filler between larger items, and filler is what stops your design from shifting.
Keep Wet Components Separate
The most common bento problem is moisture. Sauce spreads into rice, juicy fruit makes nori soggy, and dressing wilts greens. Planning for this is part of the design.
Use small silicone cups or lidded sauce containers for anything wet. Dry salad greens and cucumber slices before packing. Pat cooked vegetables with a paper towel. If an item is saucy, give it its own compartment, and place the dry items on the opposite side of the box.
Put a leaf of lettuce or a silicone cup between rice and a wetter food. Pack fruit in its own cup, not touching the rice figures. Add sauces in the cup, not drizzled across the top, so the faces stay crisp and clean.
- Dry foods first, wet foods in cups
- Pat vegetables dry before packing
- Use dividers between rice and anything juicy
- Add nori last
- Keep dips in sealed containers
Color Planning for a Balanced Look
Before you pack, think of the box as a small picture. A good rule is to include a white or neutral base, at least two bright colors and one dark accent. Rice and nori supply the white and dark. Carrot, tomato, corn, cucumber, berries or broccoli supply the brights.
Place colors so that similar tones are not touching. Put orange next to green, red next to yellow. A single red item in a mostly green corner draws the eye. Repeat each color at least twice in different places, so the box feels connected instead of random.
Keep the pattern simple. One main character, two side items and a few fillers are enough. If you want a theme, choose a palette first: pastel pink and white, or yellow and green, and select foods that match.
Fill Every Gap
Gaps are what ruin a cute bento. When the lid closes, loose items slide and your carefully placed rice animal ends up face down. Filling the space makes the box stable.
Use sturdy, small foods as fillers: cherry tomatoes, grapes, blueberries, broccoli florets, corn kernels in a cup, or rolled slices of ham or cheese. Tuck them tightly against the main shapes. Pack the largest item first, then fill outward in decreasing sizes.
Test your box before you leave. Close the lid, hold it level and tilt it a little. If anything shifts, add more filler or move the item to a different compartment. Decorative paper cups and silicone liners also keep items upright.
Safe Handling and Keeping Things Cold
Cute food is still food that needs careful handling. The U.S. Food and Drug Administration's guidance on storing food safely says cold foods should be kept at 40°F (4°C) or below, and that perishables should be refrigerated promptly.
It also says to discard perishable food left out more than 2 hours, or more than 1 hour when the temperature is above 90°F (32°C). That time includes preparation, transport and display, so a slow decorating session counts. Use an insulated bag with cold packs, and refrigerate the box when you can.
This guide cannot guarantee that any lunch is safe, so follow the source and your own judgment. To save time, prepare components ahead, chill them, and decorate quickly.
Lunchbox Example One: Panda Rice Ball Box
This box uses a medium round compartment for the main character and two small spaces for sides. All items are already cooked or ready to eat.
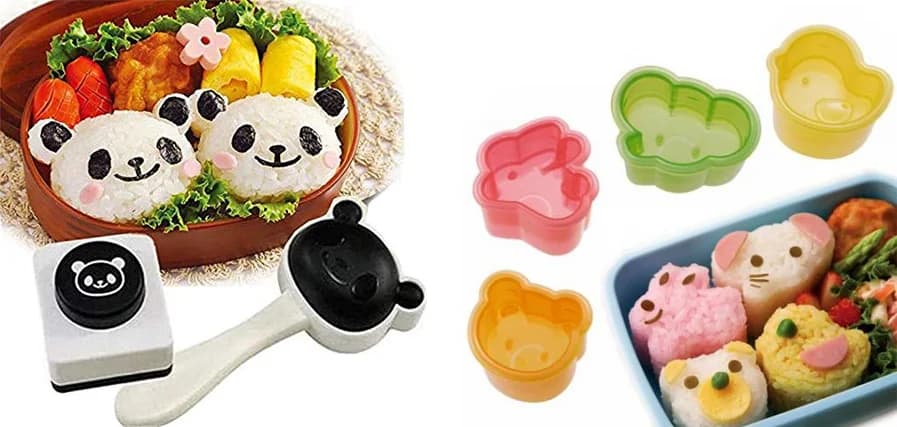
Shape one generous scoop of cooked rice into a ball, and a small amount into two ears and two small oval patches. Press the ears on top and the patches where the eyes will sit. Cut nori into two ovals for the eye patches, two tiny circles for the eyes, a small triangle nose and a short curve for the mouth. Add arms with two small nori ovals at the sides if you like.
Place the panda on a lettuce leaf in the largest compartment. In one side compartment, add cooked broccoli florets and a few cherry tomatoes. In the other, pack sliced cooked chicken or tofu you already know how to prepare, rolled loosely so it stays upright. Add a cucumber leaf beside the panda for color.
Suggested portions are flexible: one rice ball about the size of your fist, a handful of broccoli and tomatoes, and a few pieces of protein. Increase or reduce depending on your appetite.
Lunchbox Example Two: Flower Garden Box
This design uses color more than character, so it suits people who do not want to draw faces.
Spread a flat layer of cooked rice across the bottom of a wide compartment. Cut carrot flowers with a mini cutter, and place a small corn kernel or a piece of yellow pepper in each center. Arrange them across the rice like blooms. Cut thin cucumber strips for stems and tiny cucumber leaves along them. Sprinkle a few sesame seeds if you have them.
Add a divider and fill the second compartment with cooked vegetables you like, such as sweet potato cubes or green beans. Put berries in a silicone cup in the third space. If you want a dip, use a small lidded container instead of putting it on the rice.
As a loose guide, use a single layer of rice over the base, six to ten carrot flowers, and a handful of side vegetables. The flowers may be cooked or raw according to your preference.
Lunchbox Example Three: Cat Triangle Box
This box has a triangle rice cat with a built-in snack area, and it works well for a smaller appetite.
Shape a triangle from cooked rice. Add two small triangle ears by pressing them into slight slits at the top, or cut ear shapes from nori and place them on the corners. Use nori for oval eyes, a tiny nose and thin whiskers. Add pink cheeks using a dab of ketchup or a small pink food round.
Set the cat in one half of the box, leaning against a divider so it stays upright. In the other half, make a tidy row of cucumber rounds, carrot stars and cheese cubes. Put grapes or blueberries in the corner to stabilize things. Add a small cup with a dip beside the vegetables.
A flexible portion would be one or two triangles, a small row of vegetables, a few cheese cubes and a handful of fruit. If the box feels loose, add more fruit or vegetable pieces until nothing moves.
Timing Your Assembly
Good bento making is mostly about order. Prepare components first, decorate second and close the box last. A simple sequence keeps things calm and quick.
Start by cooking and cooling your rice and any other items. Cut vegetables and dry them. Set out your nori, tools and containers. Shape the rice, place it in the box and add vegetables and fillers. Put faces on last. Add sauces in sealed cups. Let everything cool, close the lid, and put the box in a cold bag with a cold pack, or in the fridge.
If you want to speed up weekday mornings, cut vegetables and cutouts in advance and keep them in a sealed container. Practice one shape at a time. A panda that takes twenty minutes the first time often takes much less the third time.
Troubleshooting Common Problems
If your rice sticks to your hands, use plastic wrap or damp fingers. If it falls apart, press more firmly or use slightly stickier rice. If nori curls, cut smaller pieces and press them on gently.
If faces look strange, check the spacing. Eyes too close together or too high often look unsettling. Move them lower and wider. If the box looks plain, add one bright accent such as a pink cheek, a red tomato or a green leaf.
If the design slides, add fillers or use a divider. If things look messy, simplify. One neat character and two tidy sides always look better than five crowded ideas.
A Simple Practice Plan
Learning is easier in small steps. In your first week, make only a rice ball with a nori face. In the second, add a carrot or cucumber cutout. In the third, build a full box with a character and three sides.
Keep a short list of what worked: the shapes you liked, the tools you reached for and the color combinations that looked best. Soon you will have a few reliable designs you can repeat and vary, and the cute part will feel as normal as packing any other lunch.